Pan and zoom
The pan/zoom feature allows users to make fine adjustments to localization positions and to view specific regions of interest during playback.
This tutorial will show you how to use pan/zoom to adjust or create annotations. To begin, you must have installed Tator, created a project for object detection, and uploaded a video.
Below is a video outlining the steps in this tutorial:
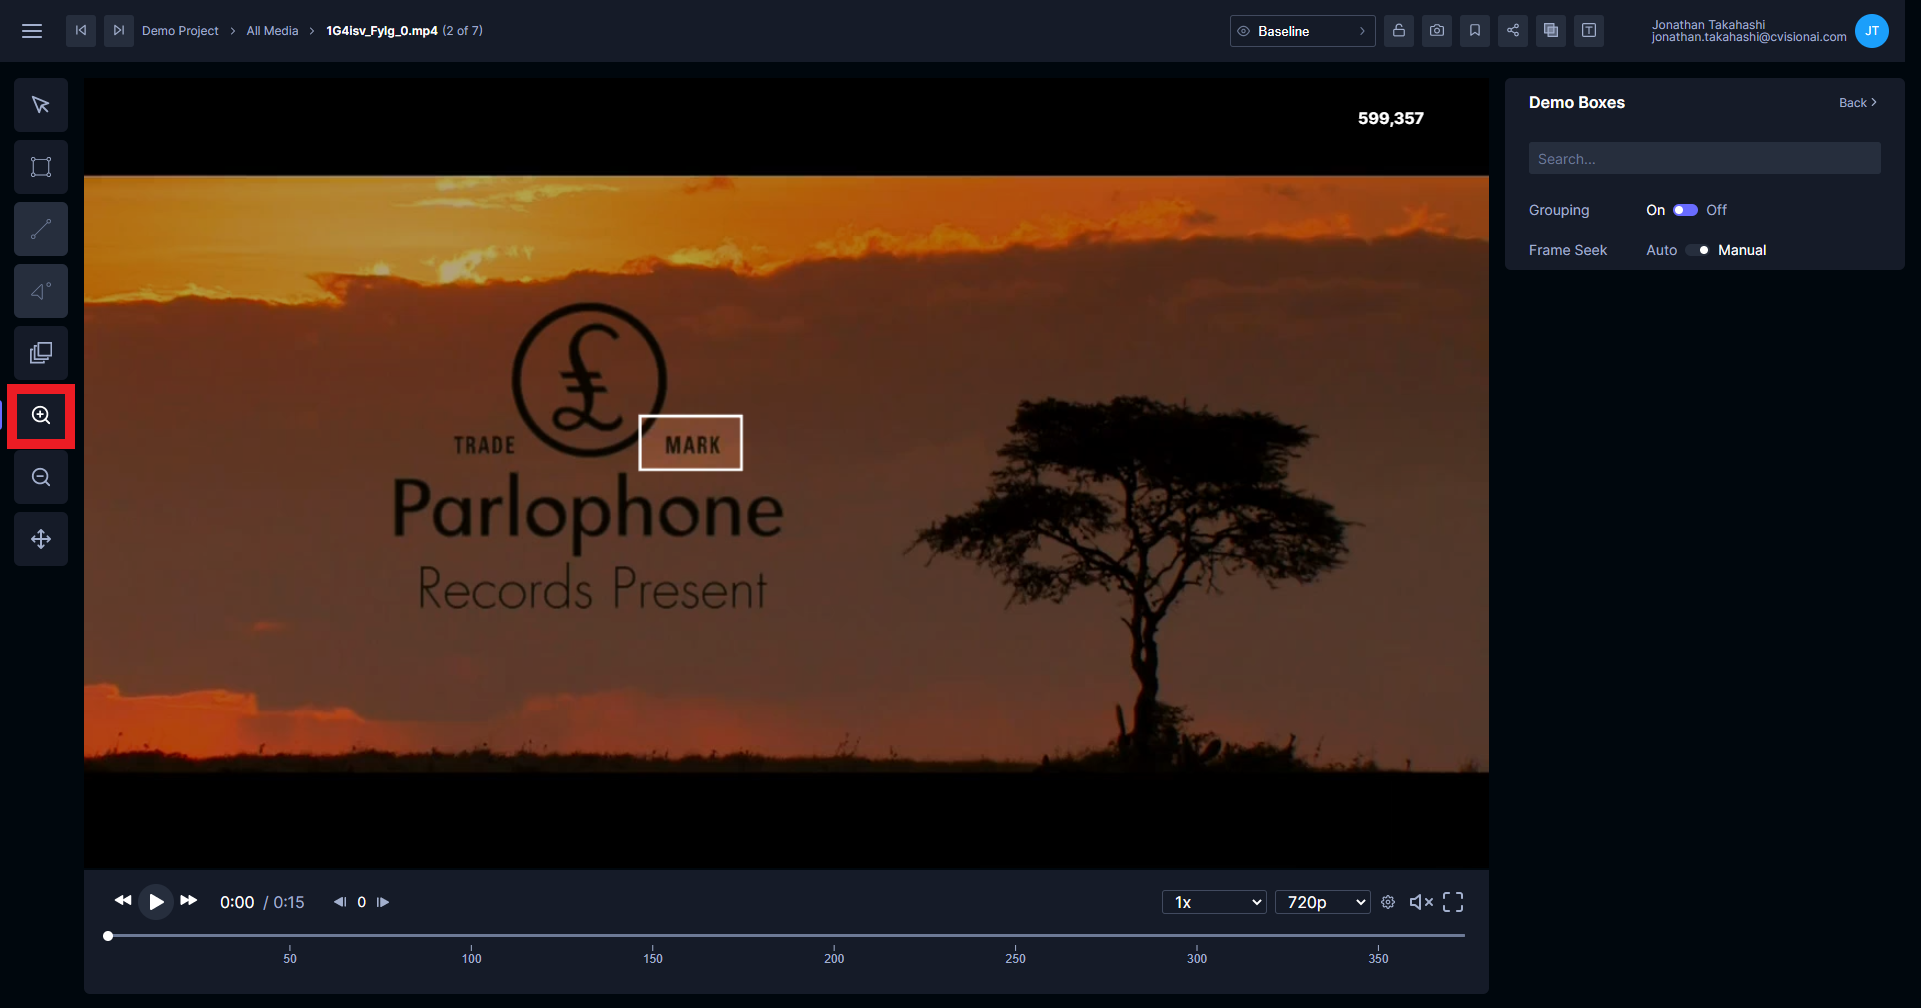
Zoom to draw a localization
For small objects, it is easier to make an accurate bounding box by first zooming in. Click on the Zoom in button to enter zoom mode, then click and drag over a region that includes an object you want to annotate.
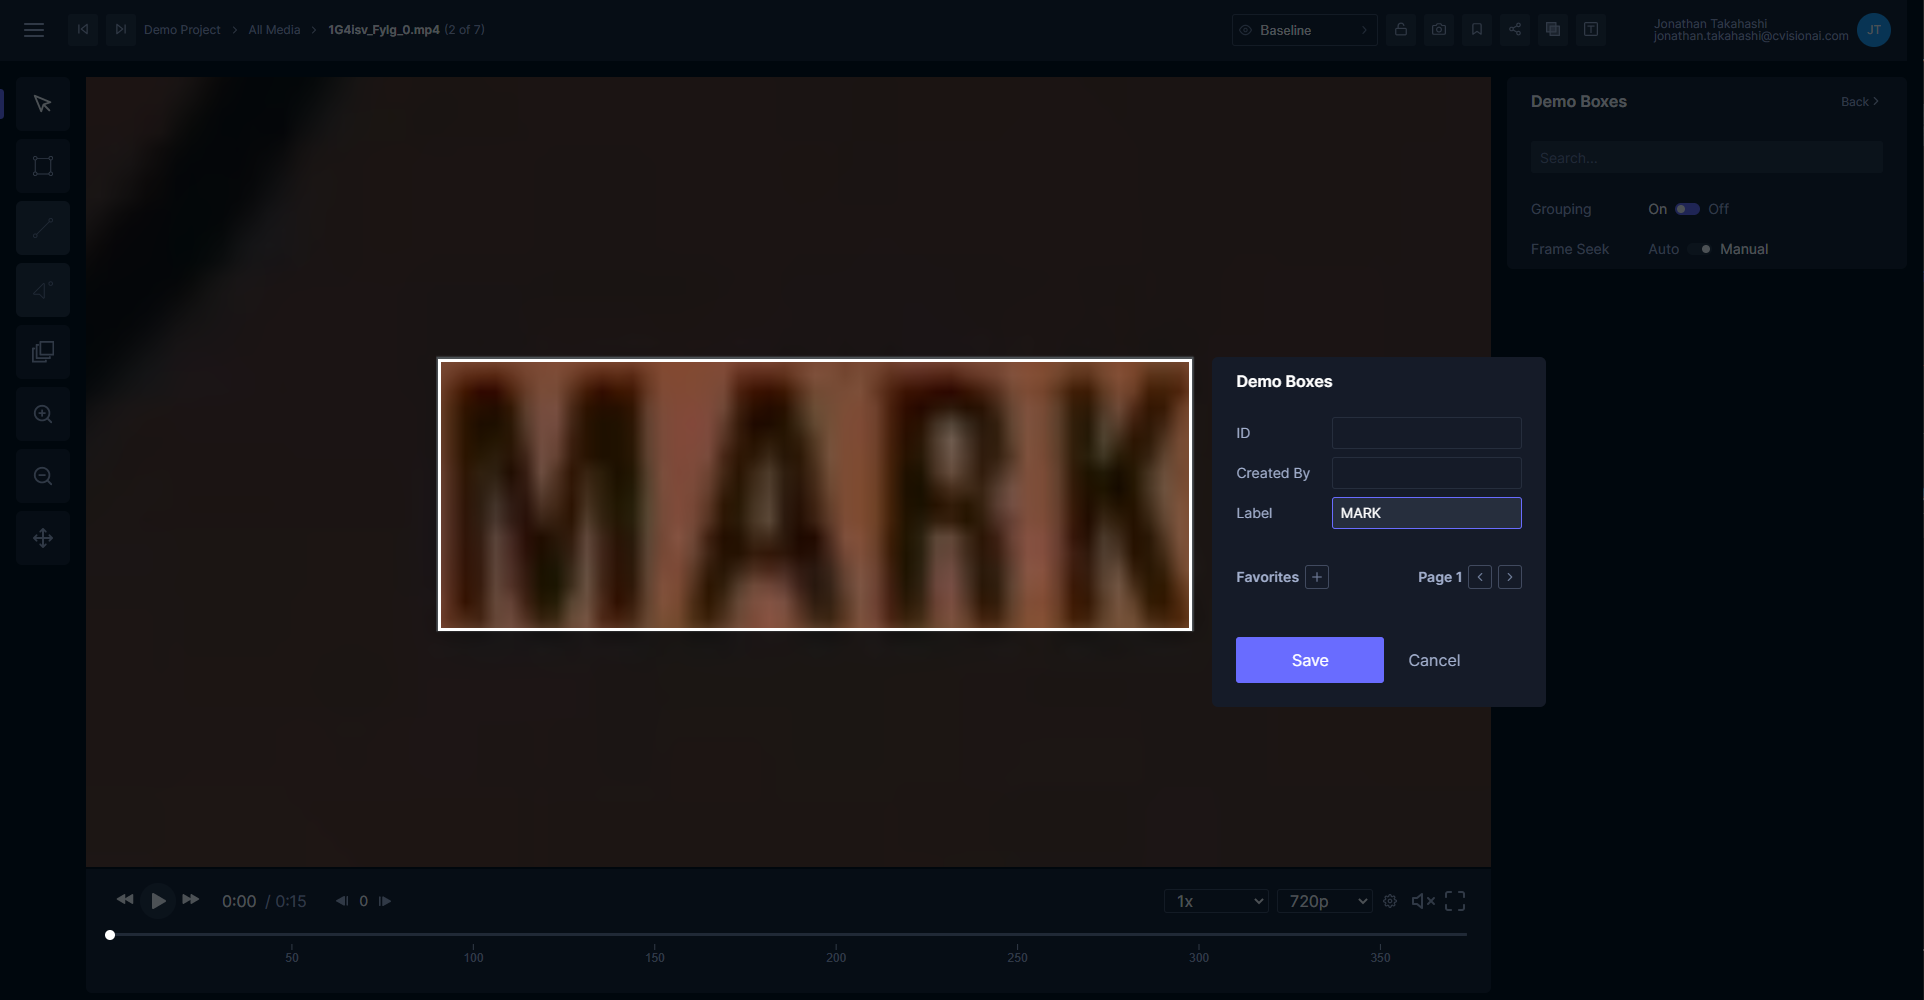
Once zoomed in, draw a localization by clicking the Box button or pressing B on the keyboard, then click and drag over the object you are annotating. Enter any metadata in the save dialog.
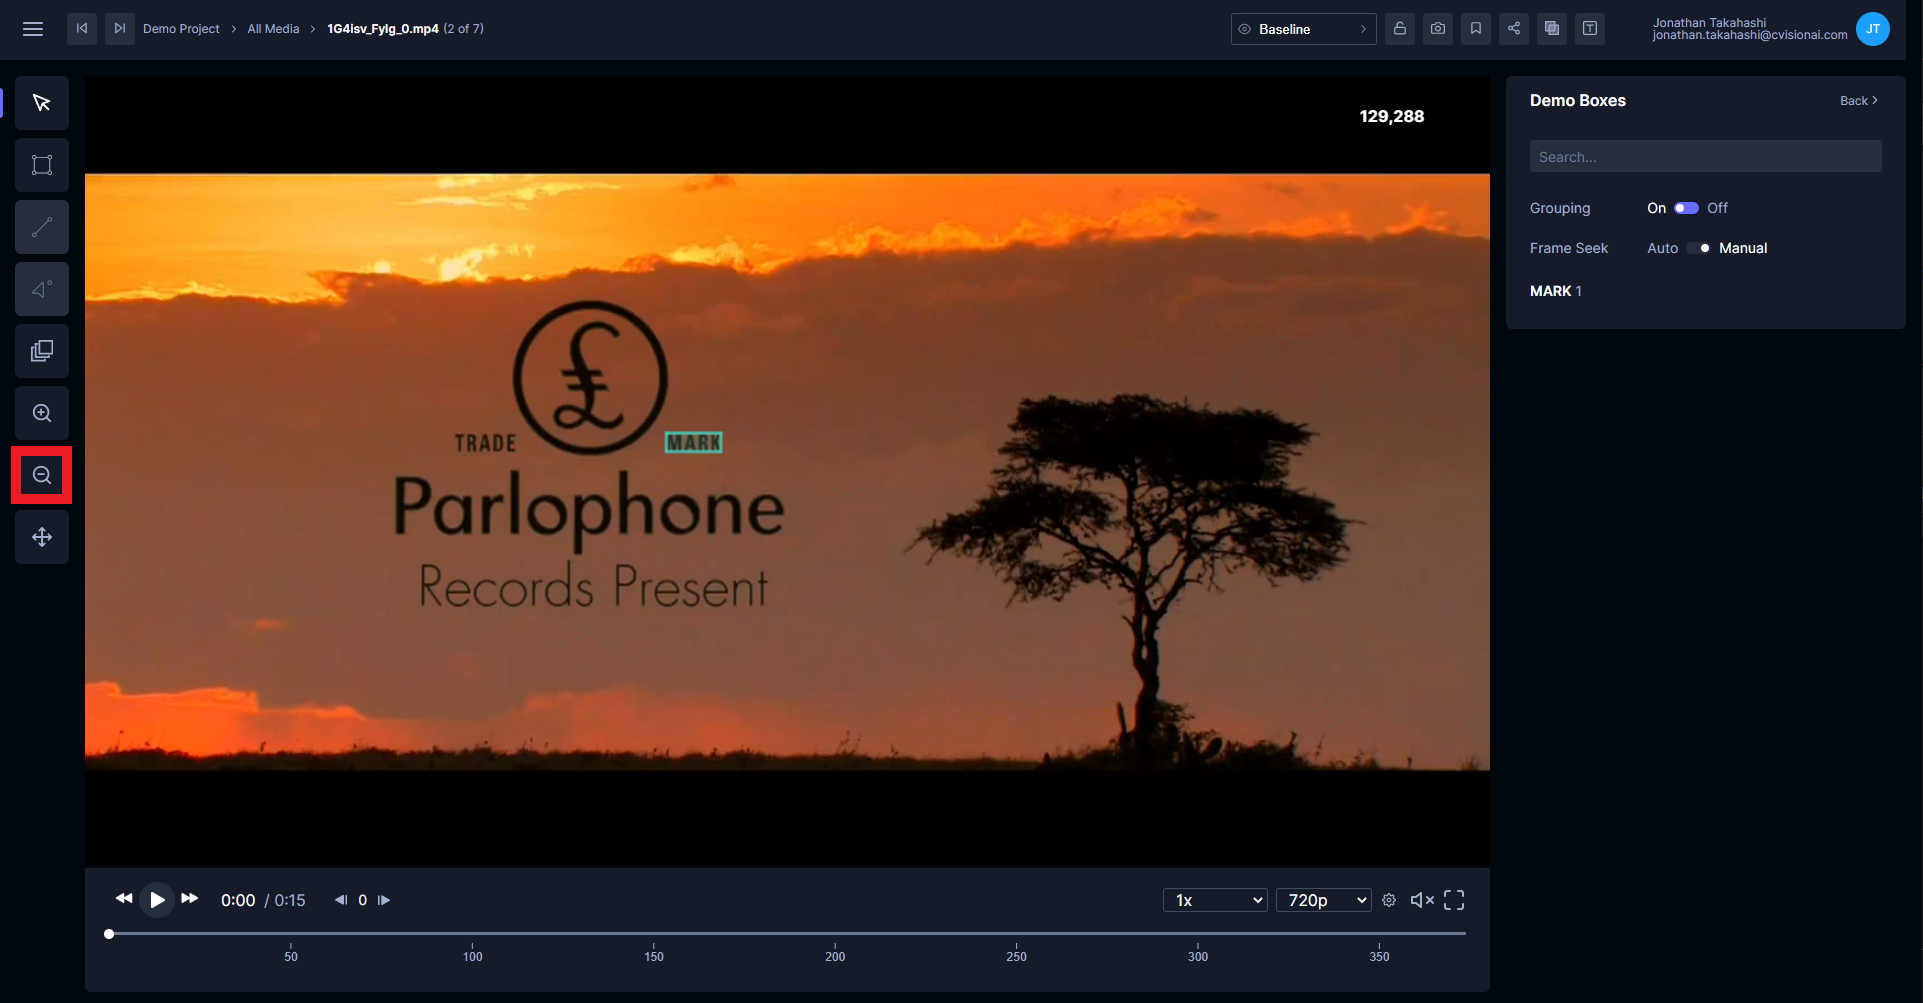
Zoom out by clicking the Zoom out button. This will return to 100% zoom, and you will see that the localization is in the correct position.
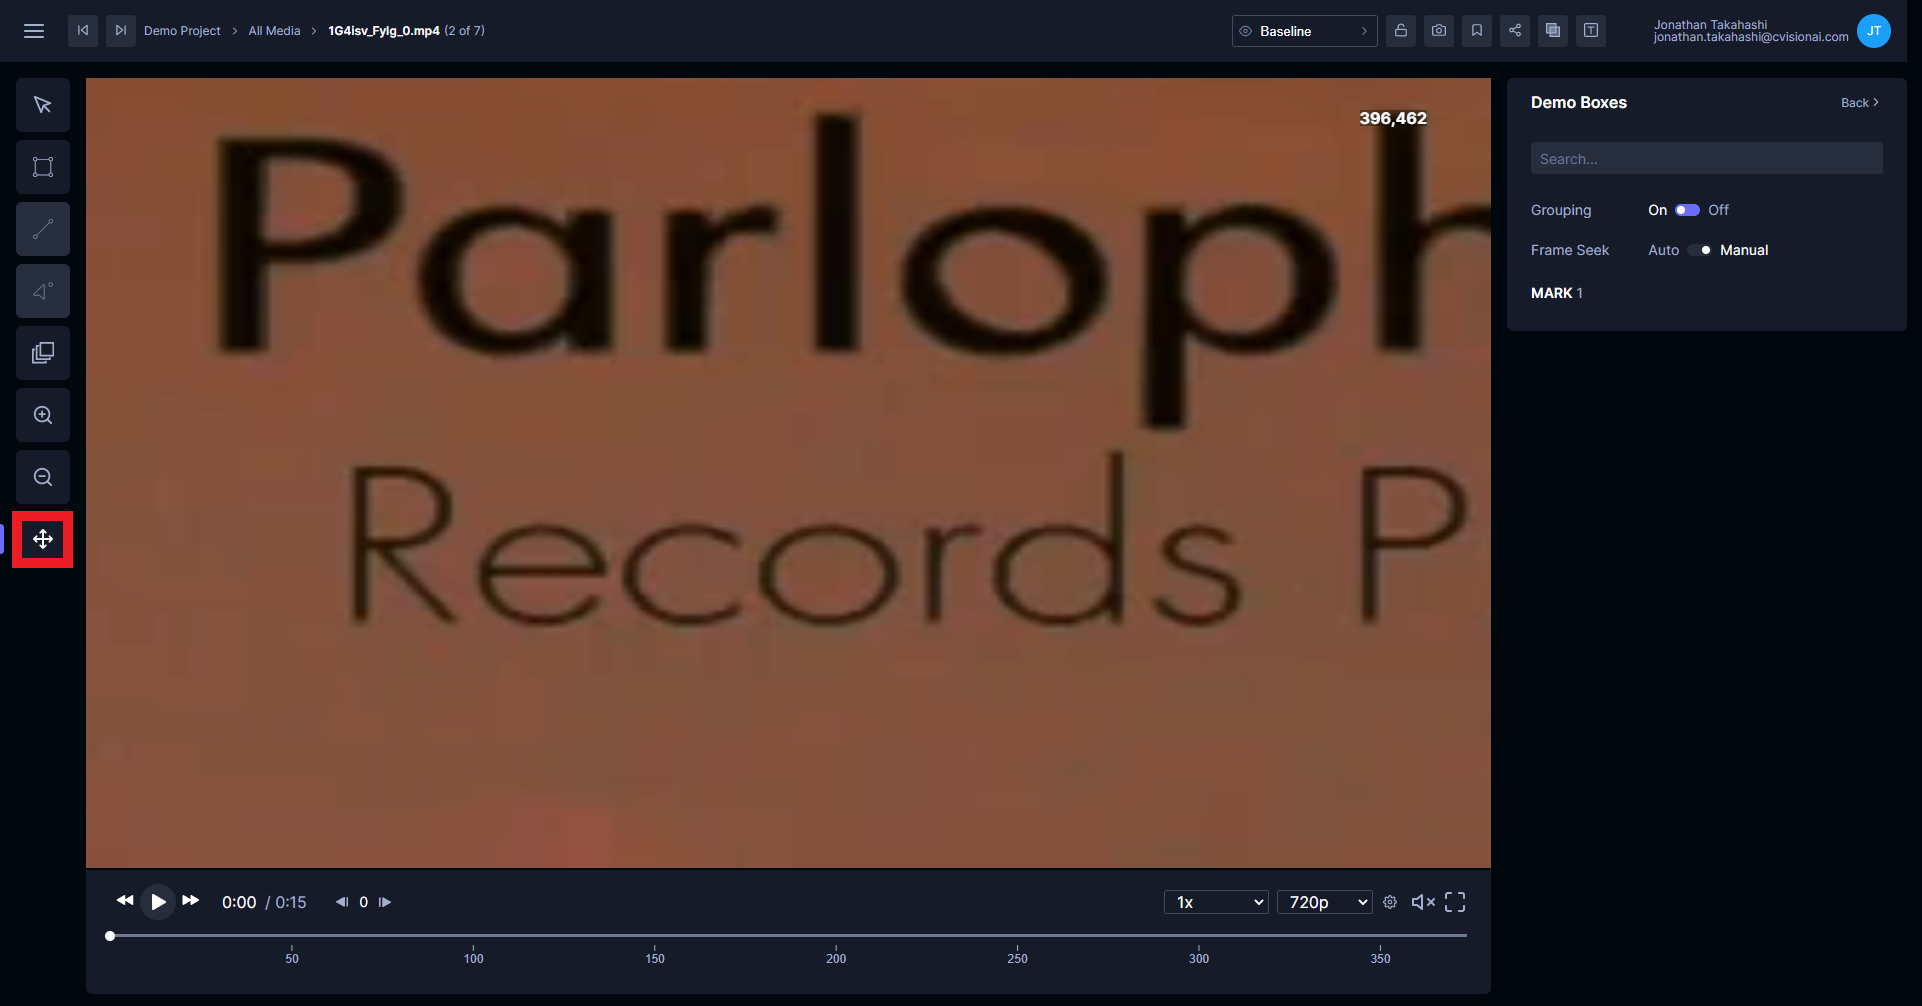
Pan while zoomed
If you need to adjust the view while zoomed in, click the Pan button. Click and drag on the video canvas to move the view.
Playback while zoomed
Playback controls work while zoomed in. Try clicking the Play button while zoomed in to view only a region of interest within a video.