Create tracks
This tutorial will walk you through how to create tracks using the web interface. Tracks can be created in two ways using the web interface, using the track button or using the localization context menu.
Create tracks with the track button
Open a video for annotation and click the Track button.

Tator will enter drawing mode for an automatically selected localization type. The localization to be drawn is selected according to the following priority:
- The default localization type for the track if one is set.
- The first available box type.
- The first available line type.
- The first available dot type.
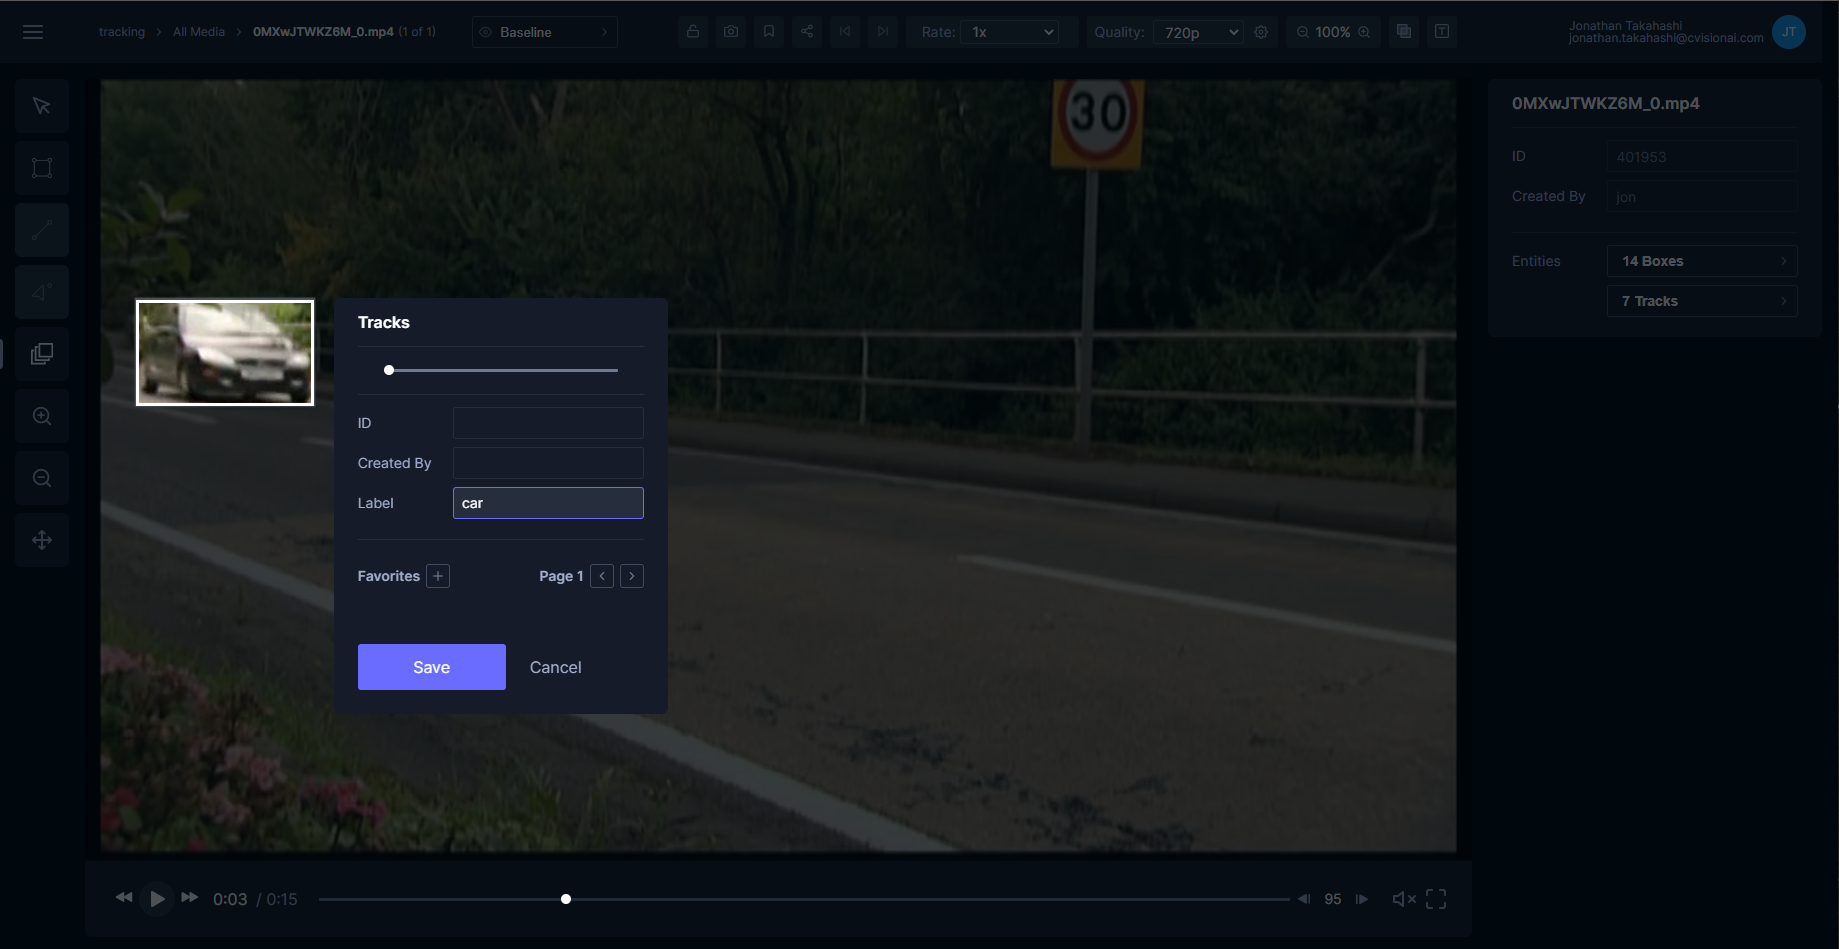
Draw the first annotation. A save dialog for the track will be displayed to allow setting attribute values. Note that only the save dialog for the track is displayed; when using the create track button localizations are created without user input (default values are used for attributes).
Now continue to draw other localizations representing the track. Each localization you draw will be added to the track until you press ESC to exit annotation mode. Below is a video demonstrating the end-to-end process for creating tracks with the track button.
Create tracks with localization context menu
Tracks can also be created using existing localizations. First create a localization, select it, then right click on it in the annotation canvas. Select the option Create New <track type>.
The track will be created. You can continue to append localizations by the following procedure:
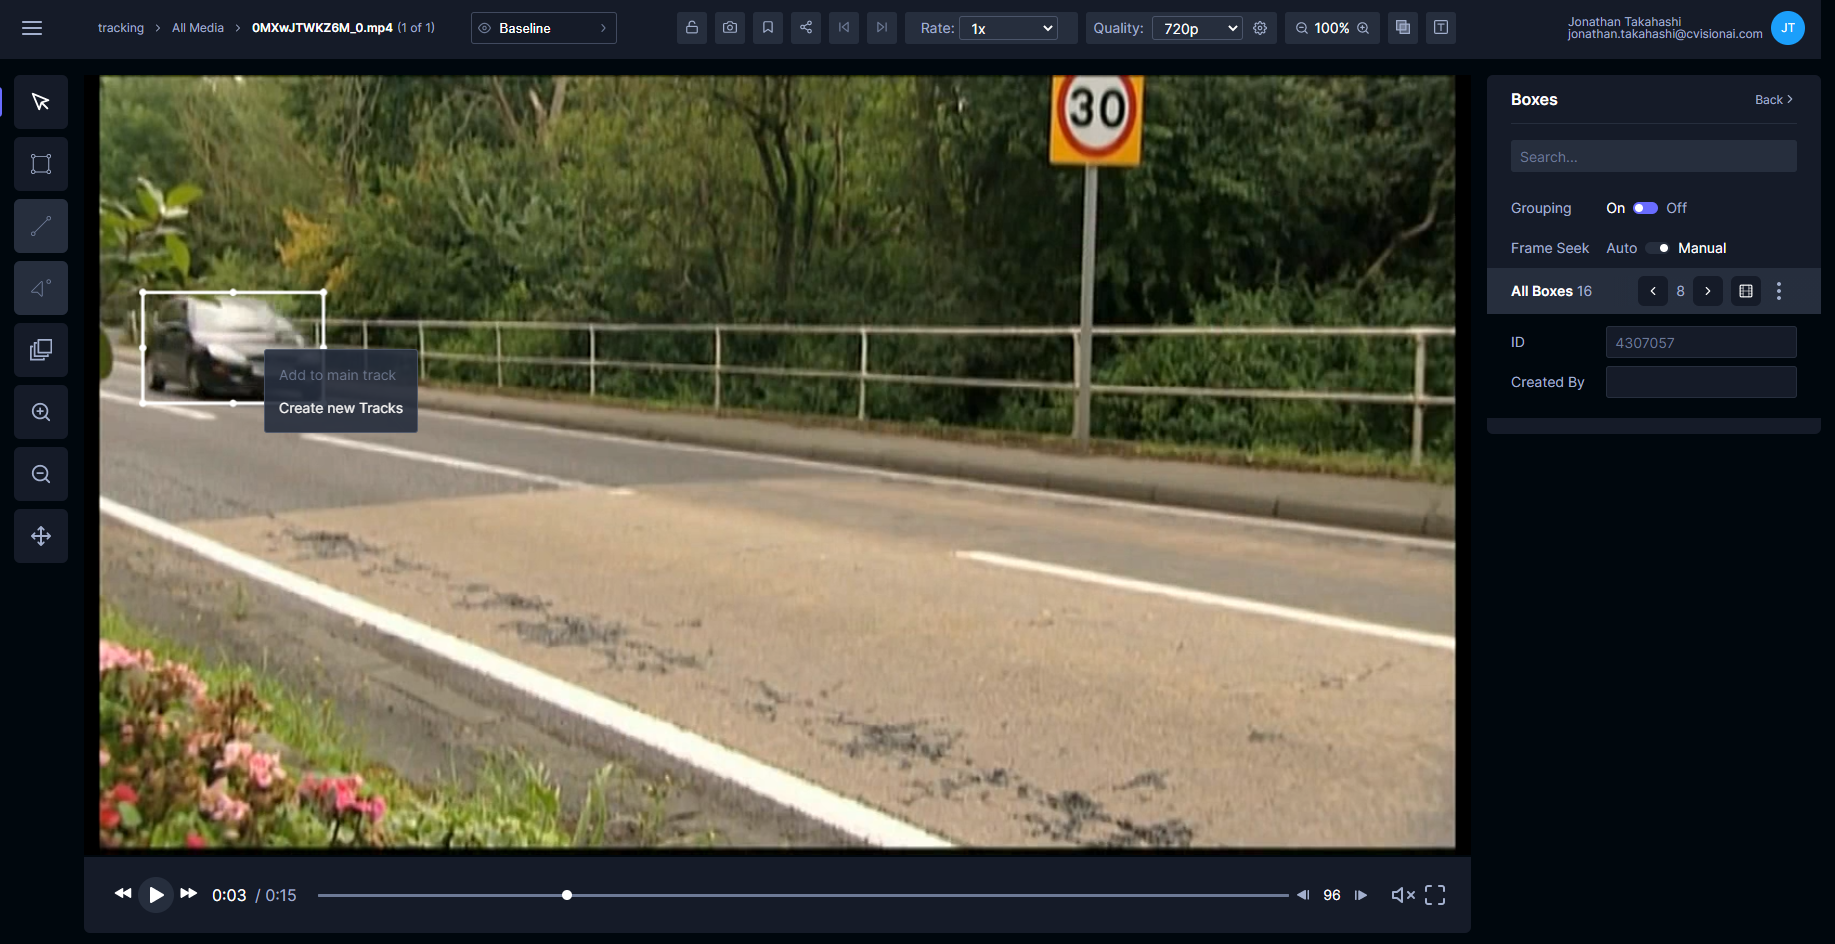
- Right-click on the track and select
Set as main track - Draw a new localization
- Right-click on the localization and select
Add to main track