Draw localizations
Localizations are annotations related to a region in an image or video frame. Tator supports three types of localizations: boxes, lines, dots, and polys.
This tutorial will show you how to draw localizations in Tator. To begin this tutorial you need to first install Tator, create a project for object detection, and upload a video.
Below is a video outlining the steps in this tutorial:
Draw a localization
Open media in the annotation view, then click the Box button (or press the keyboard shortcut B). Move the cursor over the canvas and crosshairs spanning the video frame will appear.
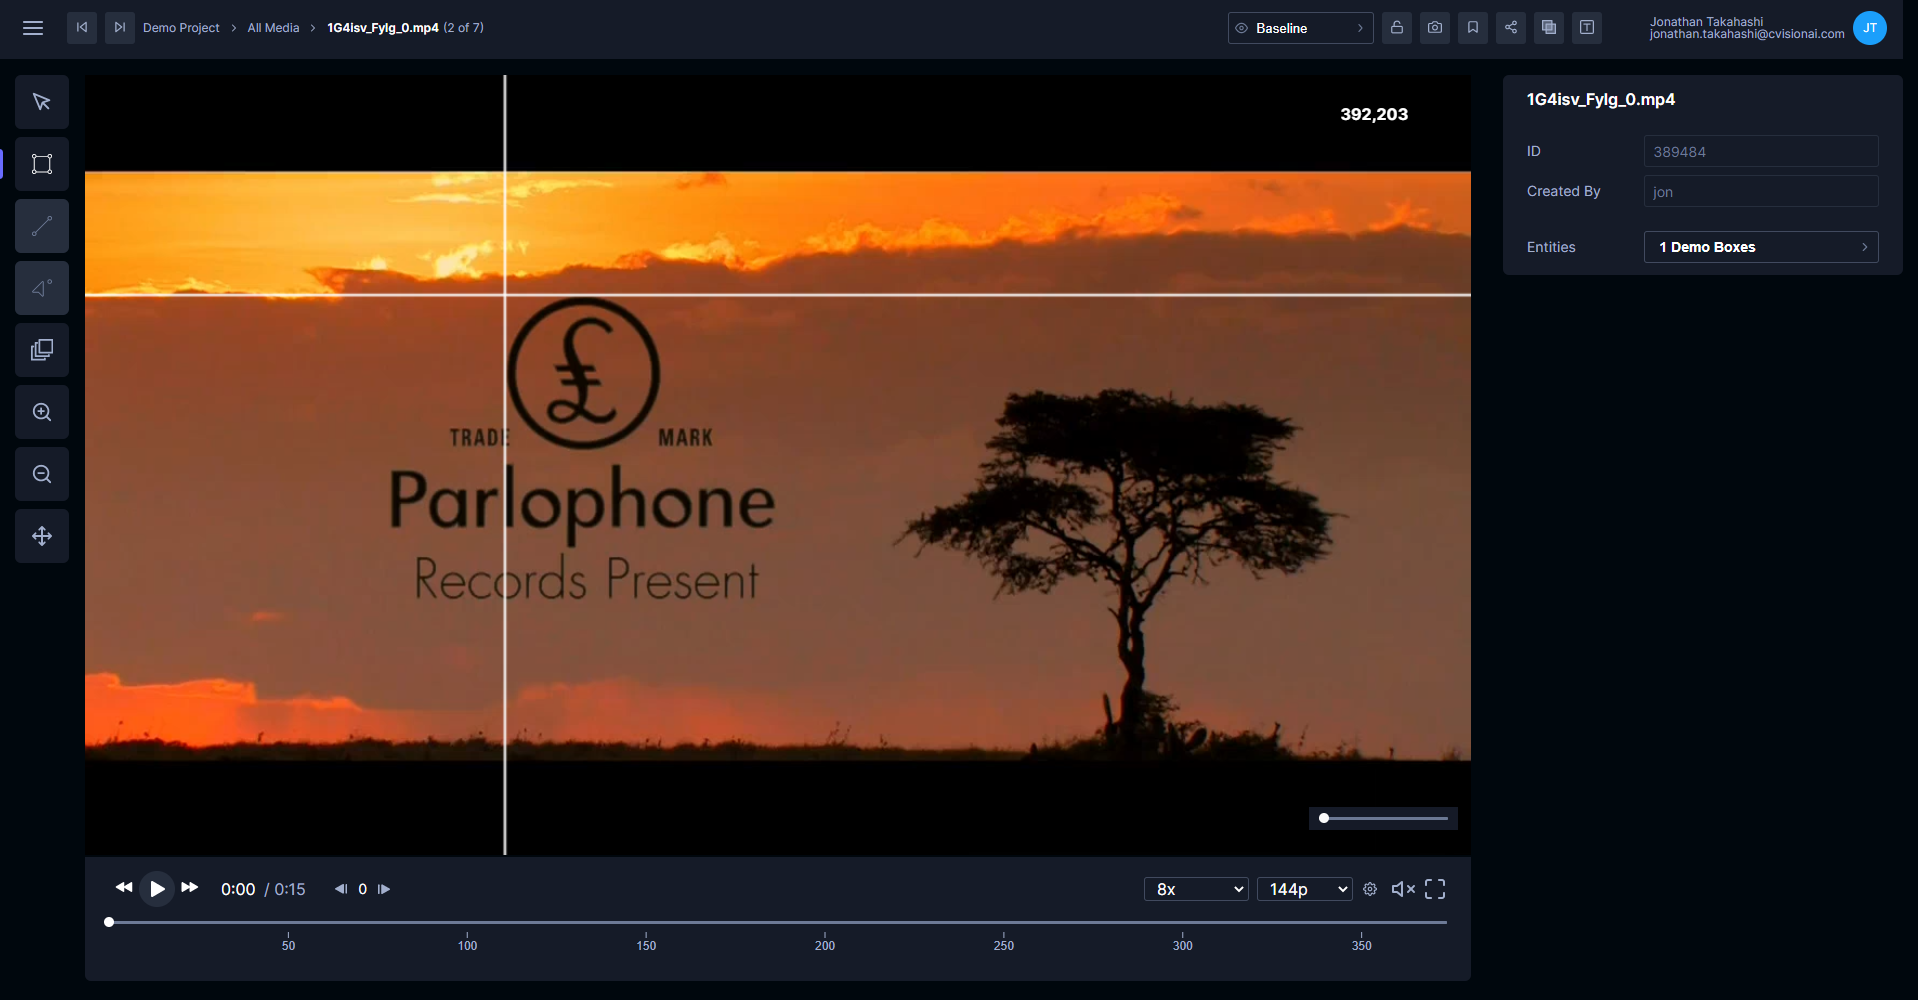
To exit drawing mode, you can press ESC or click on the Edit button. To draw the localization, click and drag a box over an object of interest. When the mouse is released, a save dialog will appear with fields for attributes describing the box. For the default object detection project, this simply consists of a label.
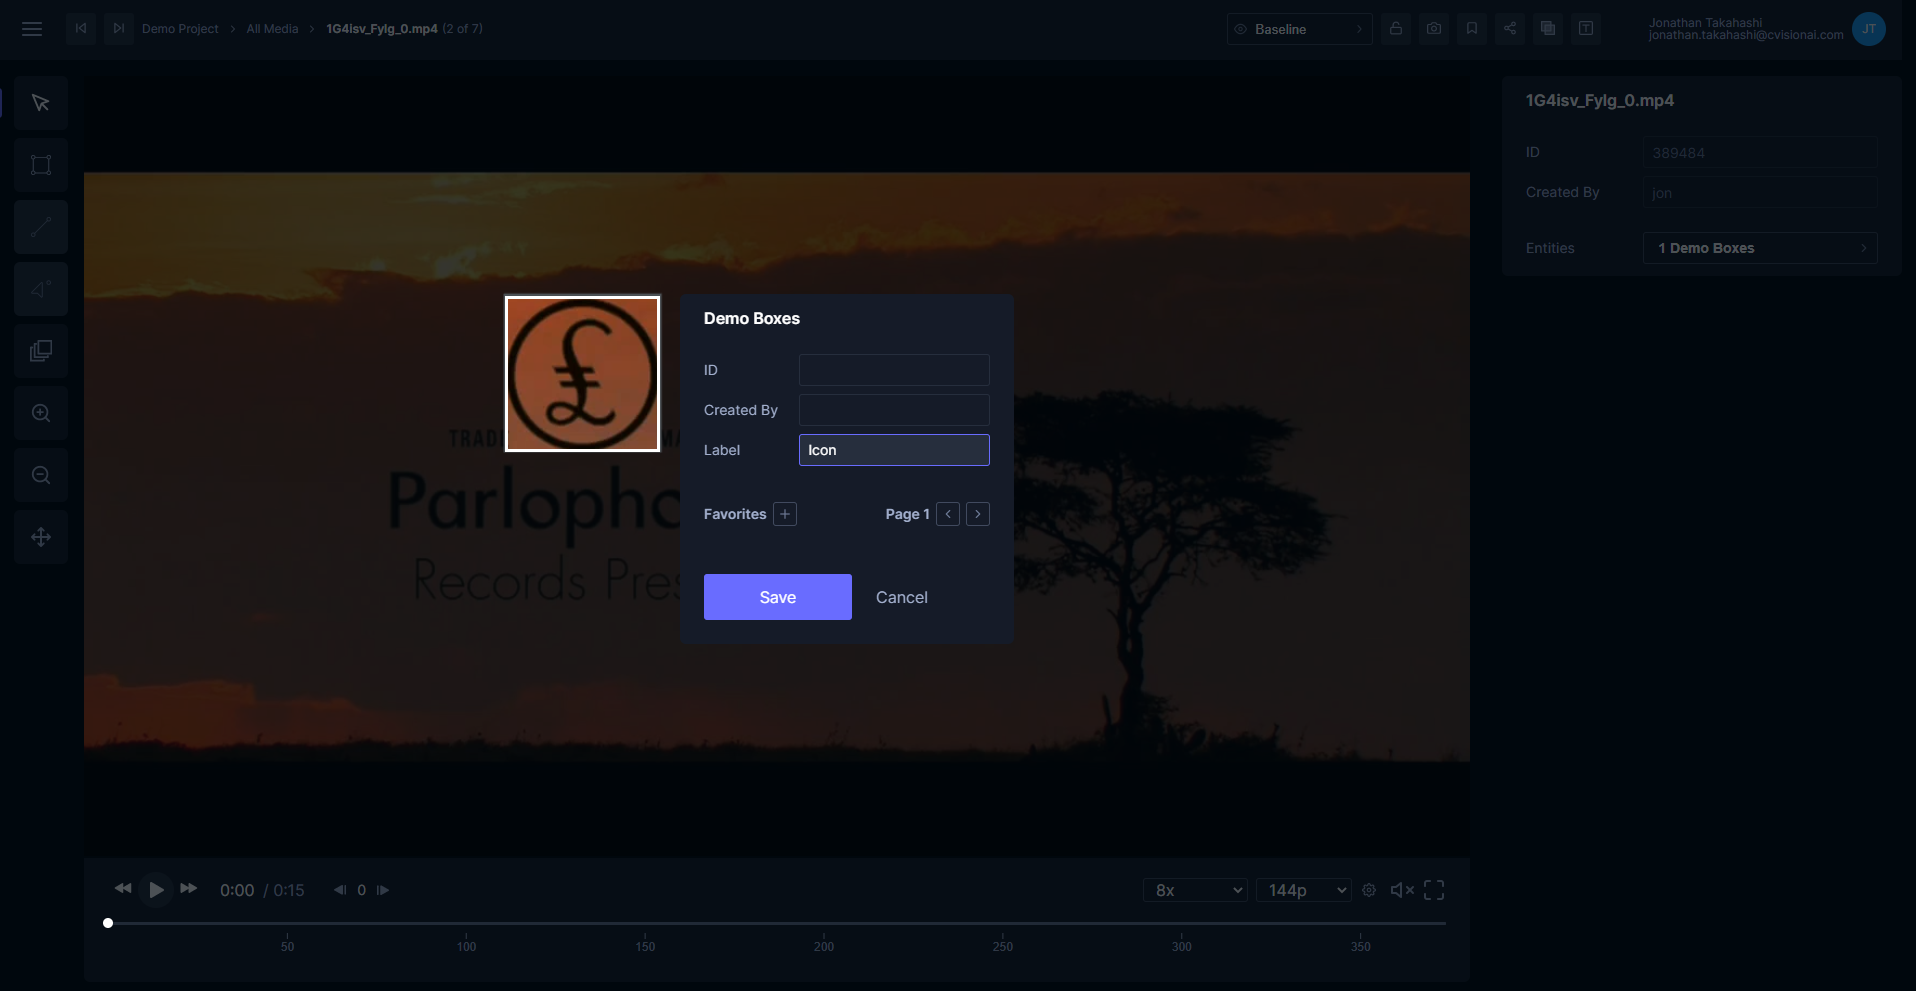
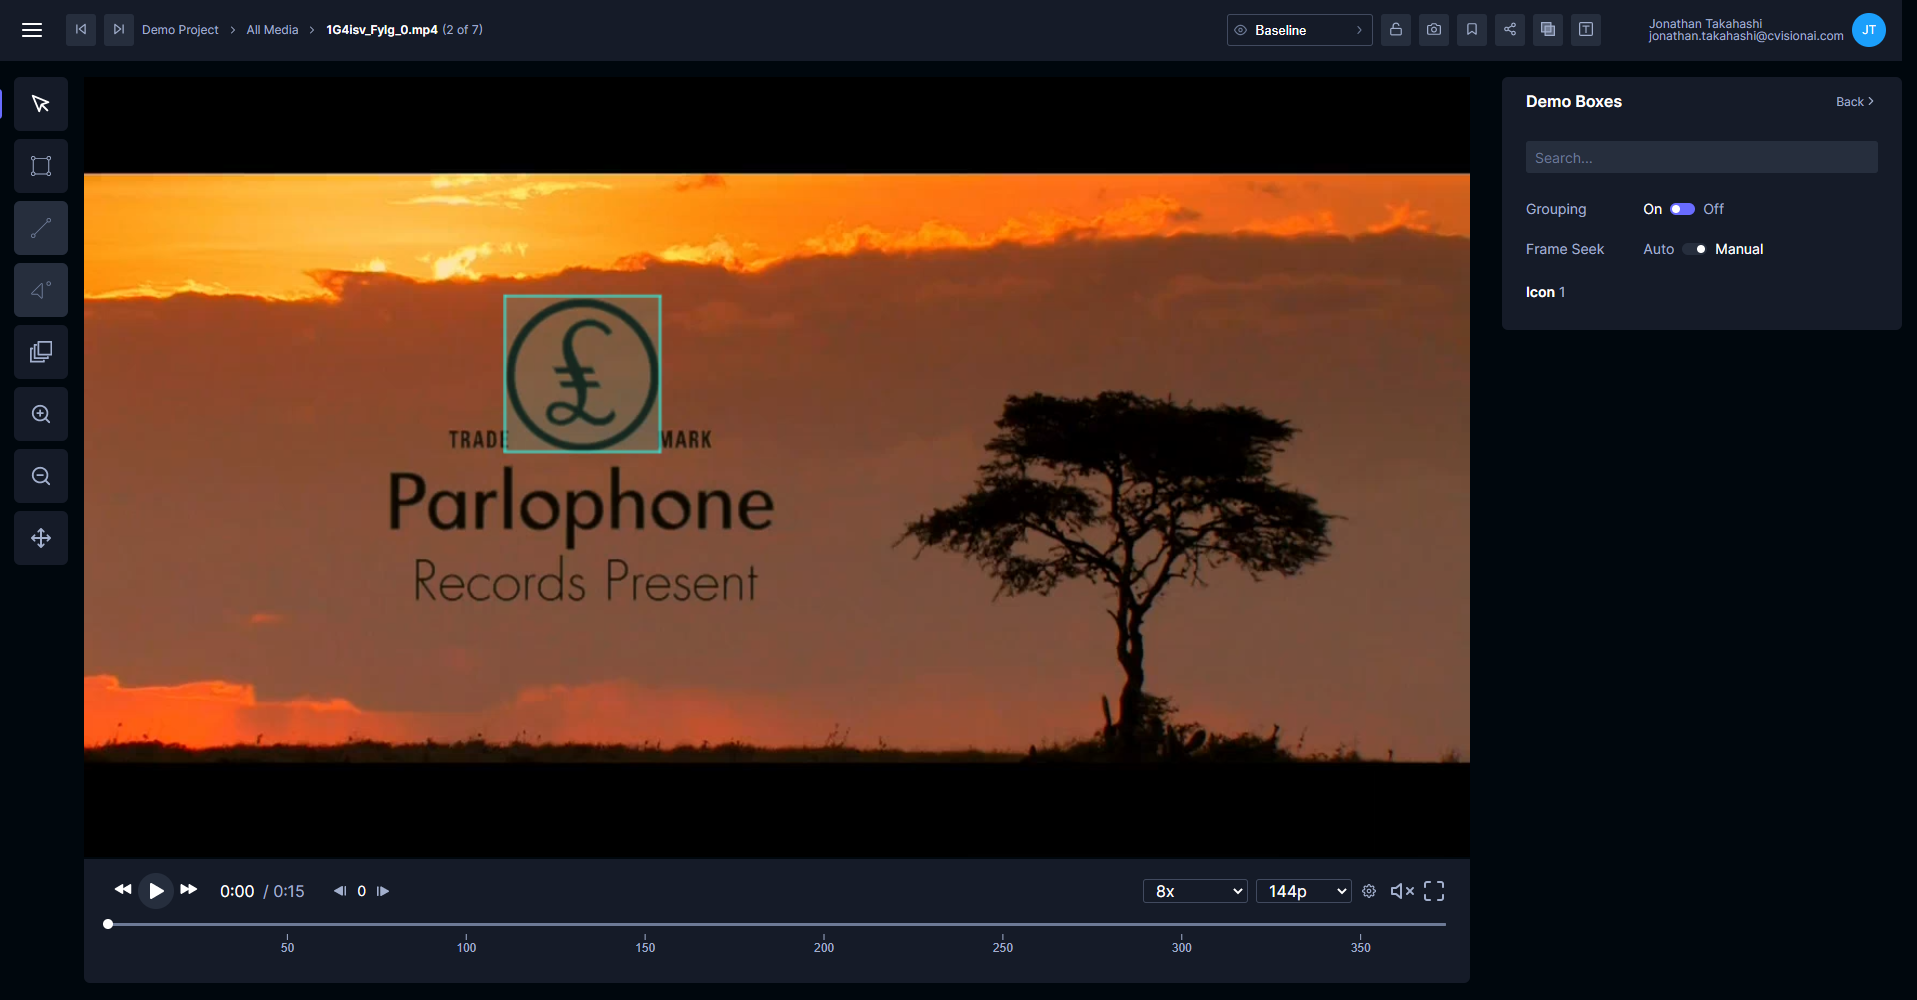
Type in a descriptive label, then click Save. The box will appear in the video canvas and will be available in the entity browser on the right.
Edit a localization
To modify a localization, select it by either clicking it on the video canvas or by selecting it in the entity browser. Note that if you select a localization in the entity browser but are on a different frame in the video, the Go to frame button must be clicked to modify the localization. Handles will appear around the localization when selected.
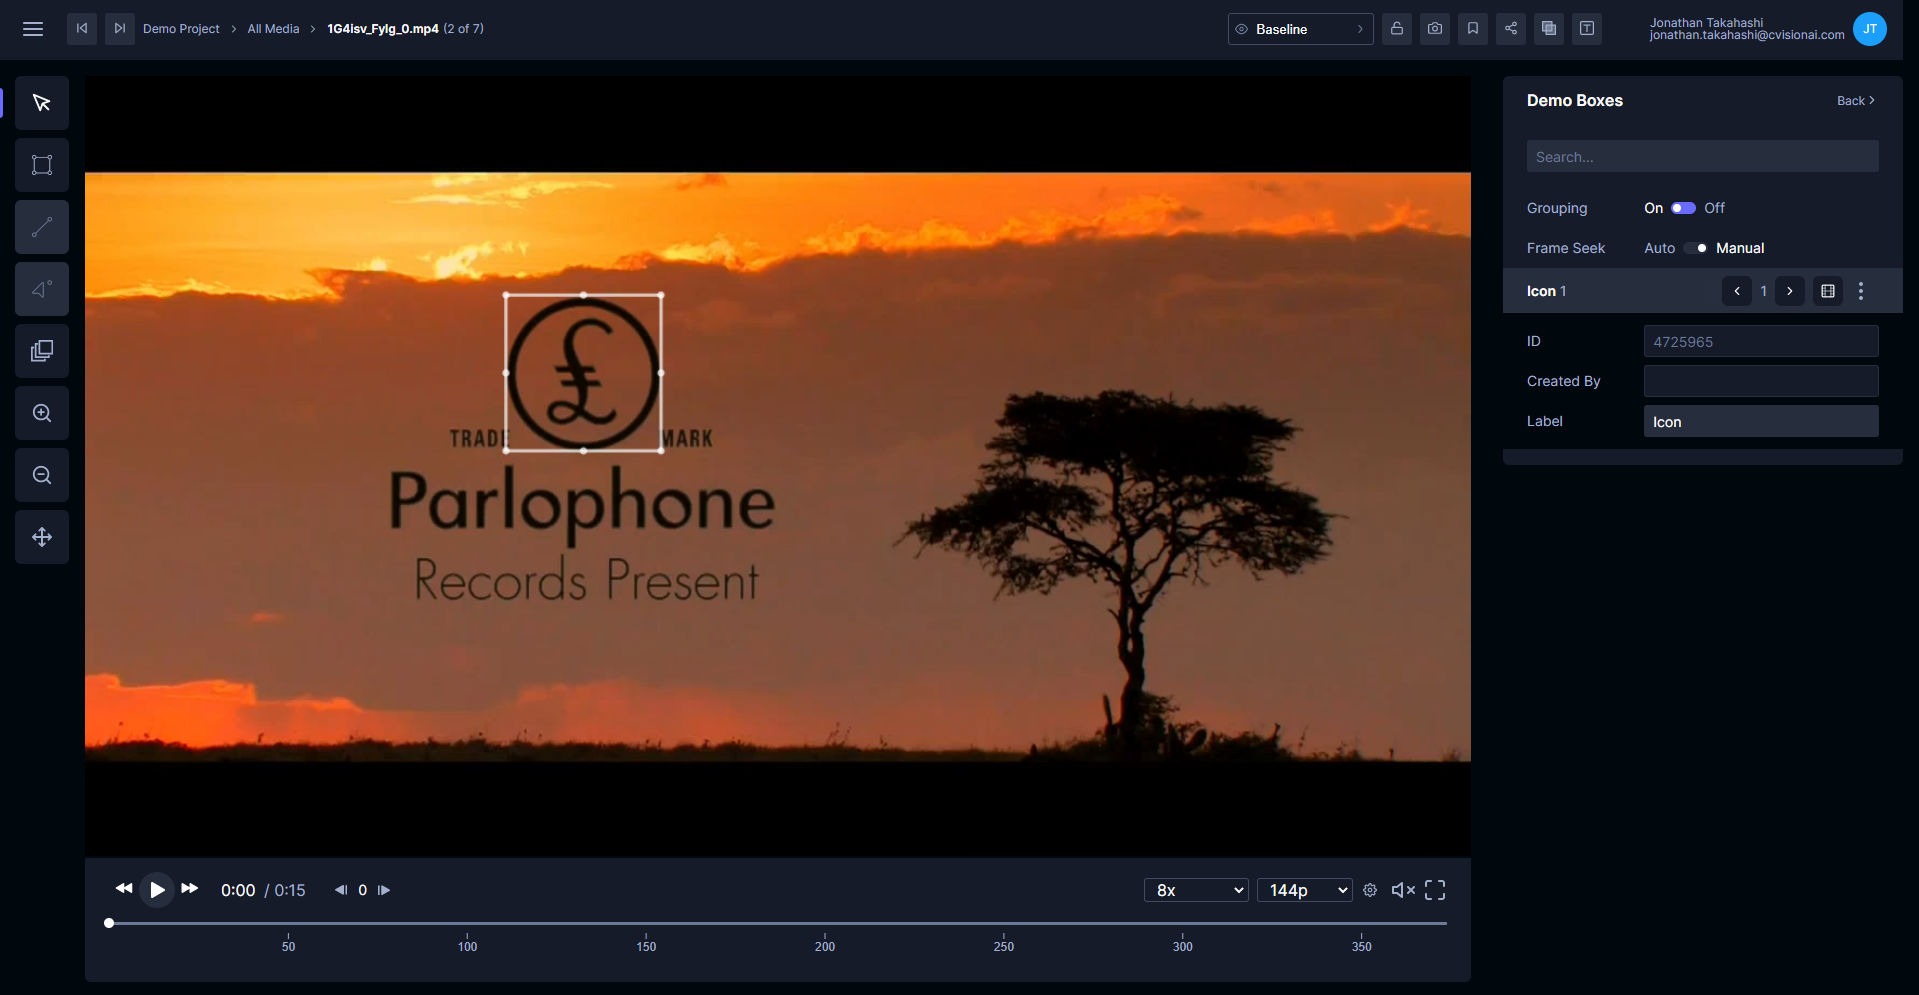
Once the localization is selected, try changing the box position or its label in the entity browser. Corners and edges can be clicked and dragged, or the whole box can be moved by click and dragging from the center of the box.
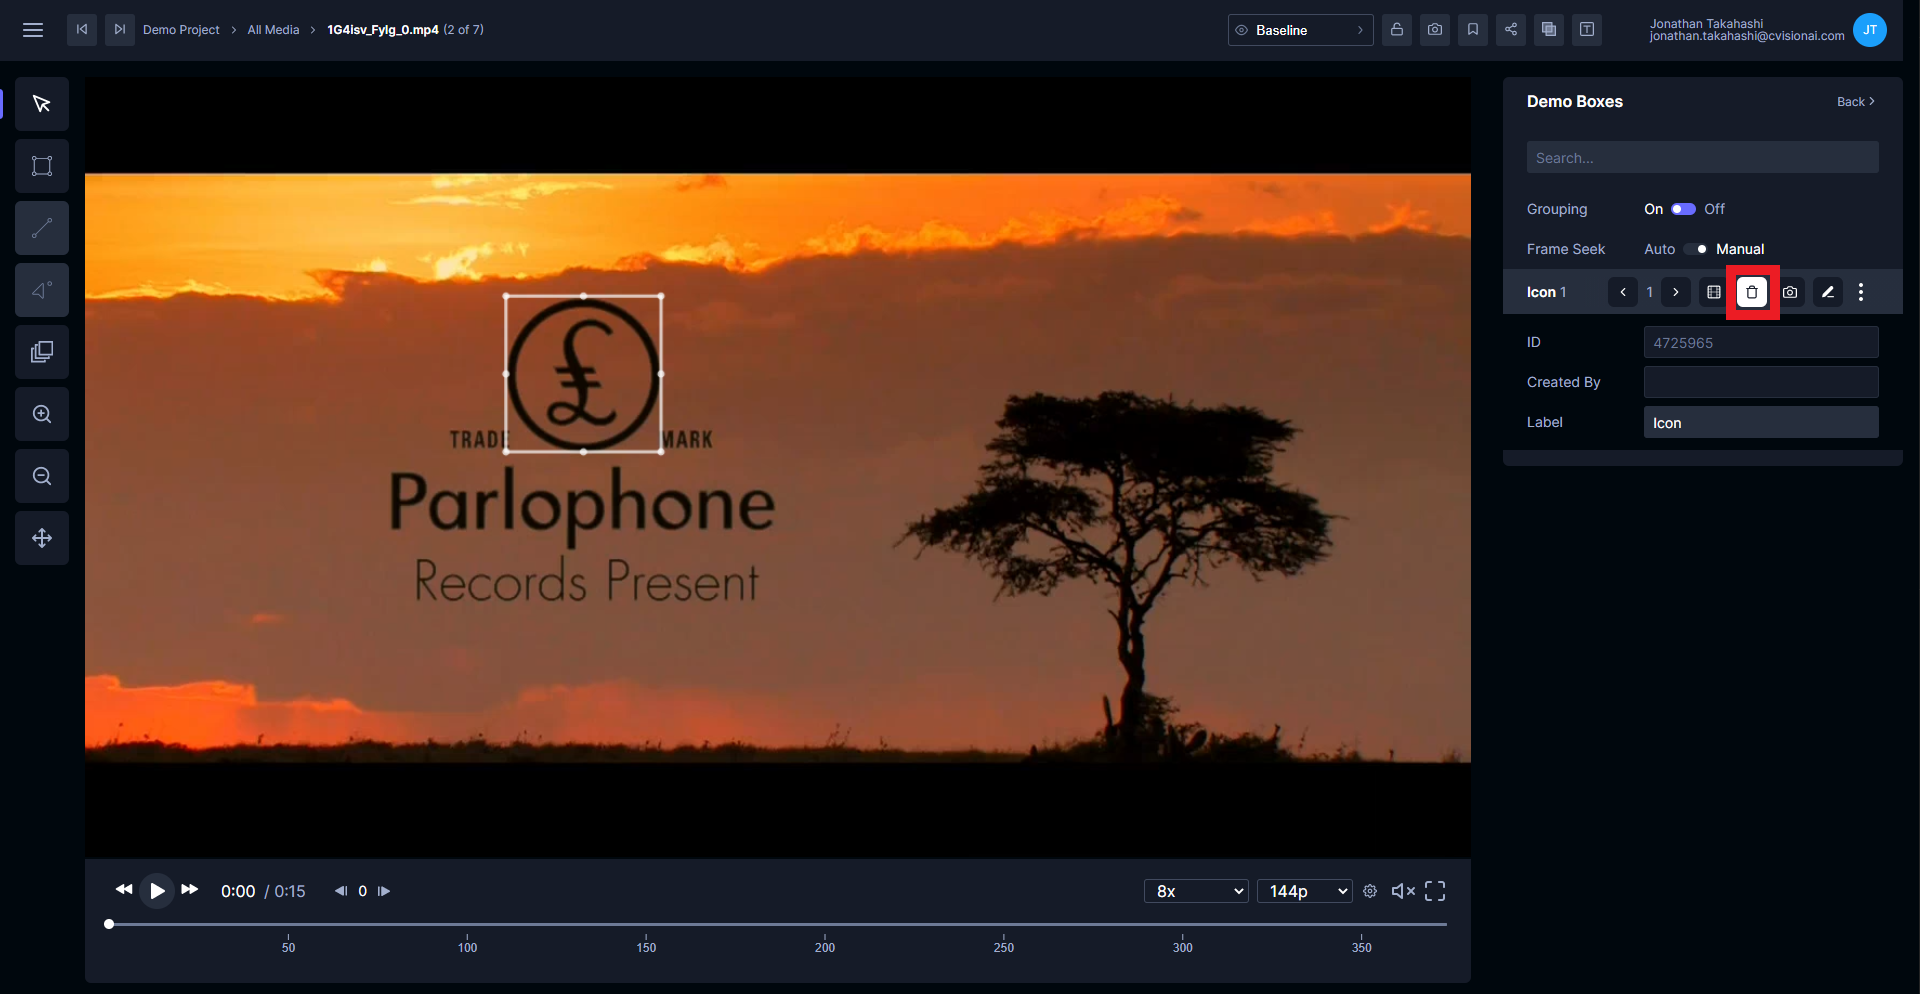
Delete a localization
Select the localization, then either press the DEL key, or expand the entry in the entity browser and click the delete button.
Draw continuously
If you have a video or image where you are annotating the same type of object in many places, you can enter continuous annotation mode by clicking the Box button while holding down the SHIFT key. Draw the first localization, enter the info, and you will remain in drawing mode. Each localization drawn will automatically use metadata entered for the first localization.
This tutorial can be repeated for both lines and points on projects with corresponding localization types.