Upload media with web interface
This tutorial will walk you through how to upload media using the web interface. To upload media, your account will need Transfer permissions on the project where you are uploading.
Enter the project detail page for the project where you want to upload.
Select the folder where you want to upload the media. Folders work like a filesystem. Media can only be in one folder. If you select
All Mediathe media will be part of the project but it will not have a folder. New folders can be added by clicking the+ Add Folderbutton.Click the
Uploadbutton in the top-right of the page:
A file browser will be displayed. You can select multiple files using
Shift-clickorCtrl-click. Select the file(s) you want to upload and clickOpen.A modal dialog will appear on the page showing upload status. If you leave the page ore press
Cancel, the upload will be terminated.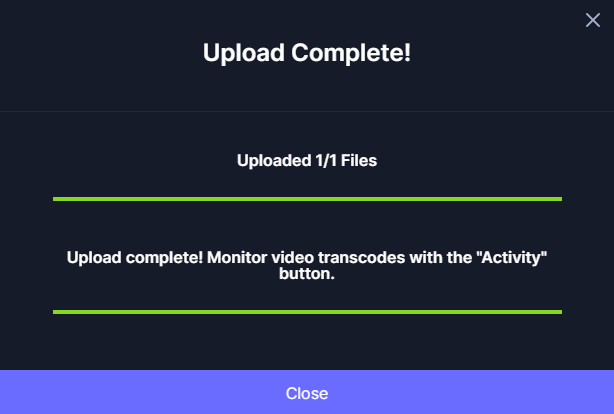
If you uploaded images, they will be available immediately. Videos need to be transcoded before they are available. You can click the
Activitybutton to view transcode progress. Click theReloadbutton to see available media. Note that for multi-resolution videos, some resolutions may complete before others.