AI-assisted annotation
Tator allows for registration of applets that can be launched from the annotation view, enabling developers to deploy computer vision models to speed up annotation. This guide will show you how to set up Nvidia Triton Inference Server on a remote server, then use an annotation menu applet in Tator to make calls to it for an object detection task. For convenience, we will use an AWS EC2 instance proxied by Amazon API Gateway to set up the standing inference server, and rely on pre-trained object detection models from TensorFlow Model Zoo. Note that these could easily be replaced by on-premise infrastructure or proprietary algorithm models.
Set up an EC2 node
To begin, we will create an EC2 node with a GPU suitable for inference. Open the AWS EC2 console and click Launch instances.

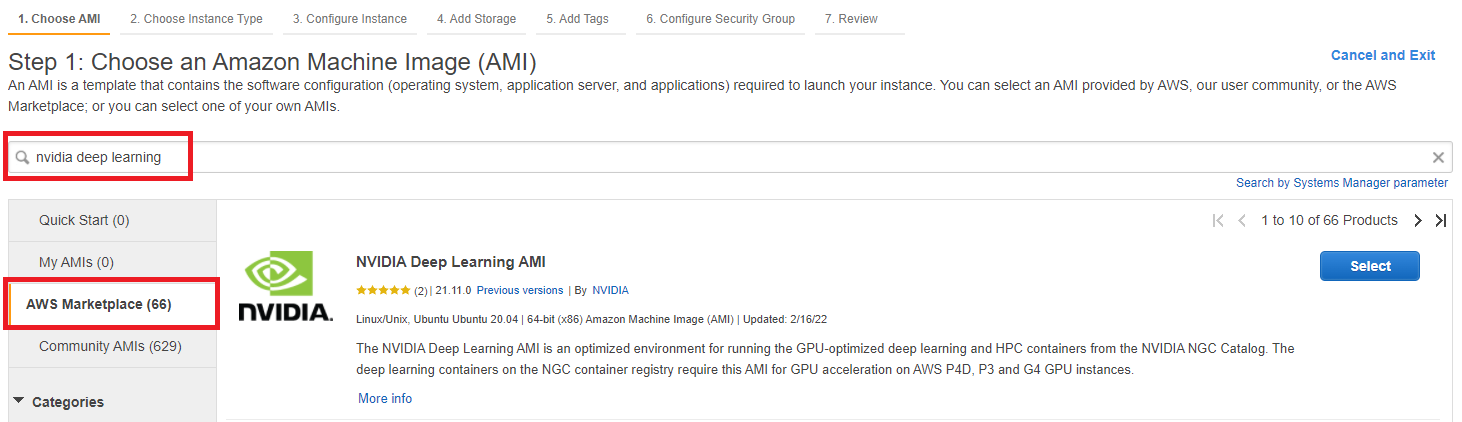
Click AWS Marketplace and then search for nvidia deep learning and press enter. The Nvidia Deep Learning AMI should be at the top of the list. Click Select.
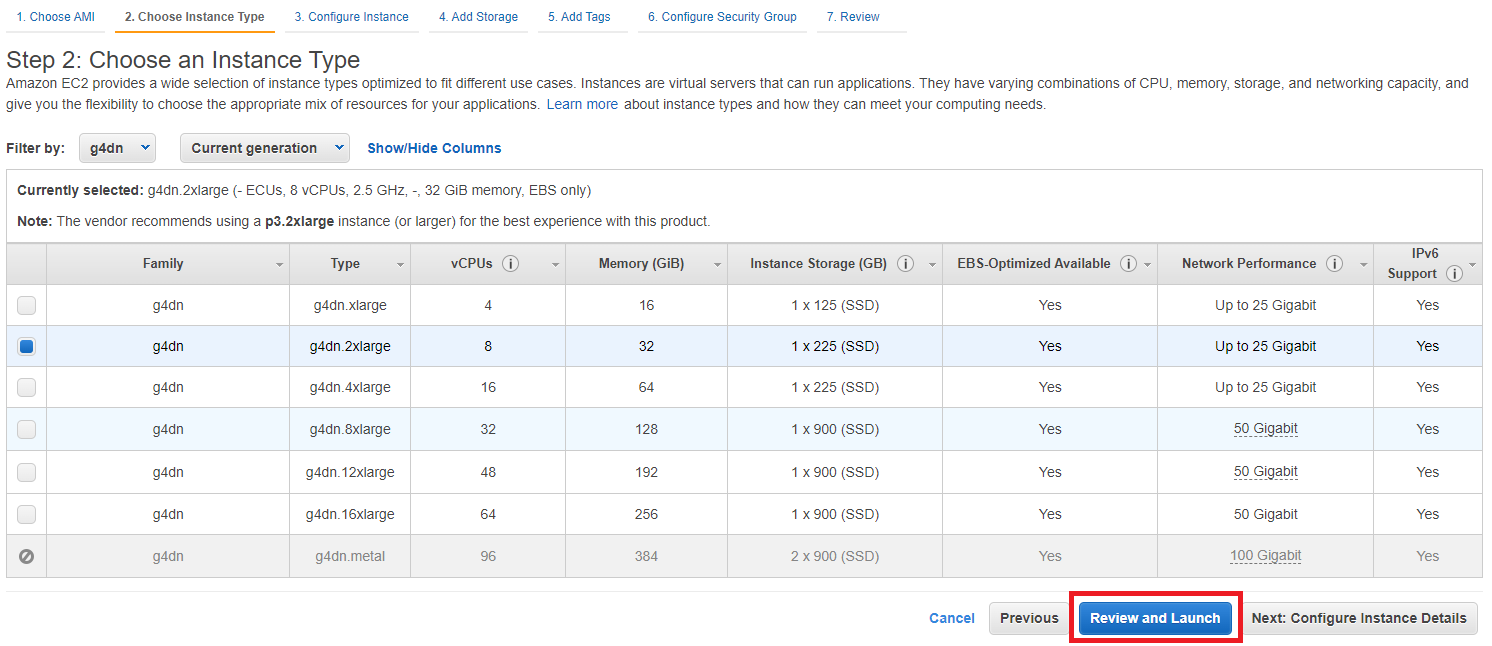
You will be shown pricing details for various instances. Click Continue. You will be prompted to select an instance type. Choose a g4dn.2xlarge. These instances have a single Nvidia T4 GPU suitable for inference with relatively low cost. Click Review and Launch.
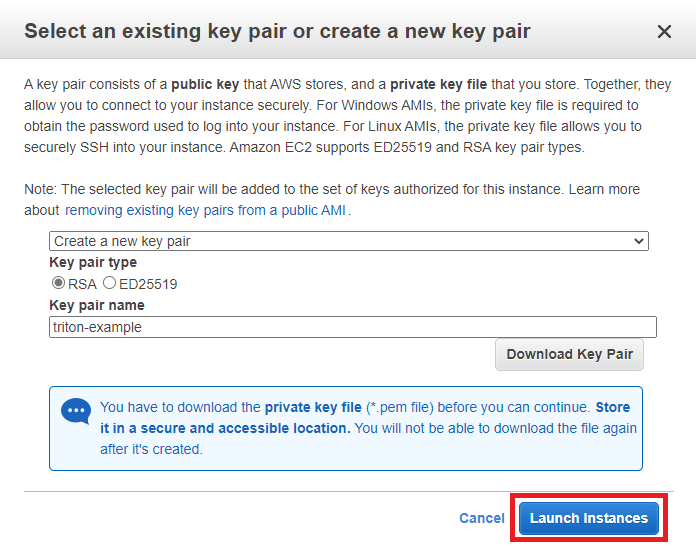
Click Launch. When prompted for a key pair, choose Create a new key pair, name it triton-example and download it. Click Launch Instances.
We need to allow inbound traffic on port 8000. Go to the main EC2 console and click Security Groups. Select the security group with name NVIDIA Deep Learning AMI-.... Click Edit inbound rules, then Add rule.
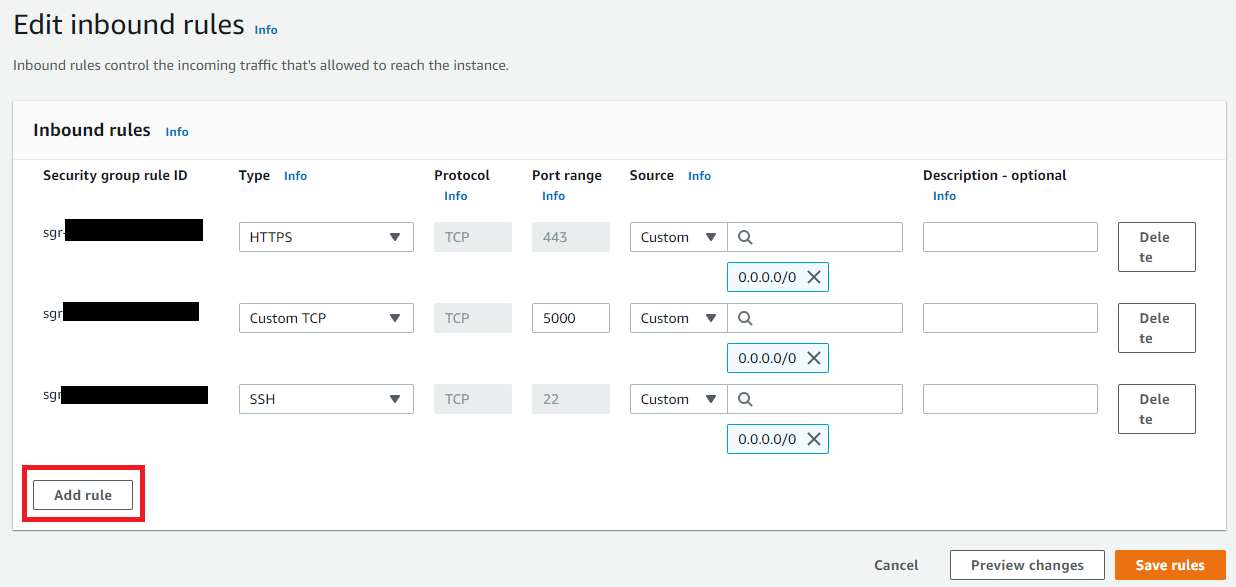
Set the Type to Custom TCP, Port range to 8000, and Source to Anywhere. Click Save rules.

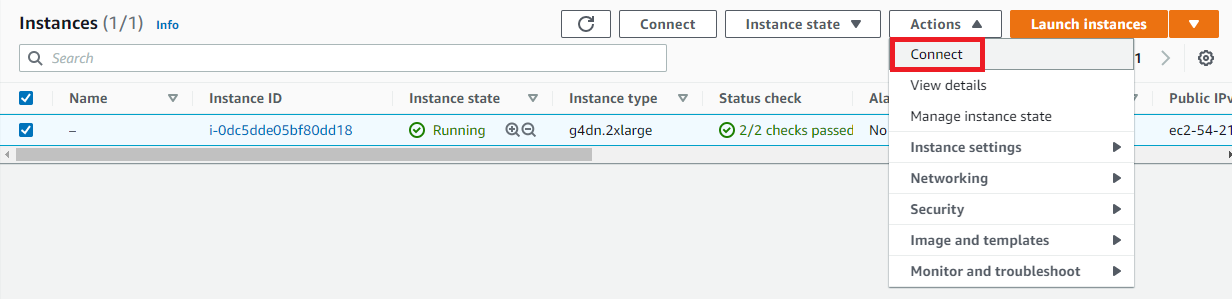
Go back to the main EC2 console. When the instance is ready, select the instance and click Actions > Connect.
Click Connect to start a web-based terminal, or configure SSH following the steps outlined using the key downloaded earlier. You should now have a terminal open to the EC2 instance.
Configure Triton Inference Server
First create a model repository that includes Faster R-CNN with Inception v2:
apt install -y python3-pip
pip install --extra-index-url https://developer.download.nvidia.com/compute/redist --upgrade nvidia-dali-cuda110
docker pull nvcr.io/nvidia/tritonserver:22.02-py3
git clone -b stable https://github.com/cvisionai/tator
cd tator/doc/examples/faster_rcnn_applet
./setup_model_repo.sh
The model repository includes a preprocessing model that uses Nvidia DALI and an ensemble model that combines preprocessing with Faster R-CNN.
Start the inference server.
docker run --gpus 1 --rm -p8000:8000 -p8001:8001 -p8002:8002 -v $(pwd)/model_repo:/models nvcr.io/nvidia/tritonserver:22.02-py3 tritonserver --model-repository=/models
Proxy the inference server
Triton Inference Server accepts unencrypted HTTP traffic, but to make it accessible to Tator we want to securely expose our model to the internet. For simplicity, we will use Amazon API Gateway, a managed service we can use as a reverse proxy.
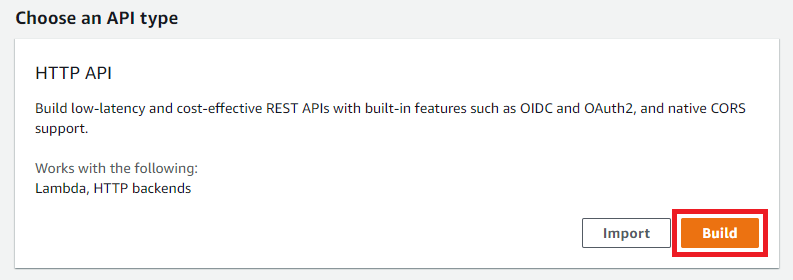
Go to the console for API Gateway and click Build under HTTP API.
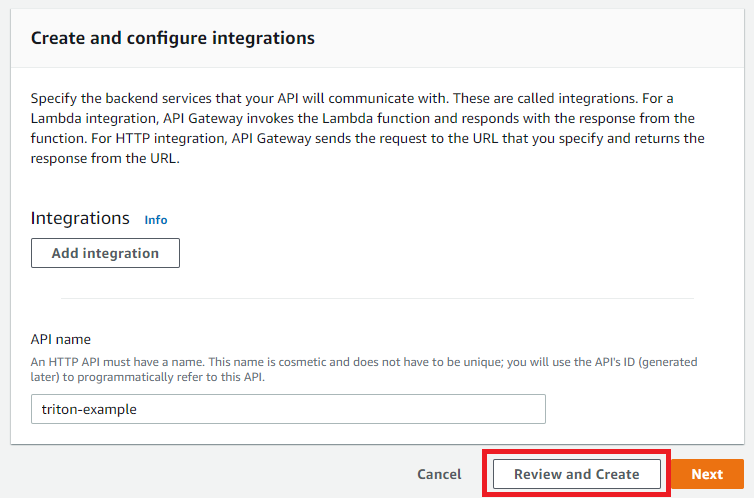
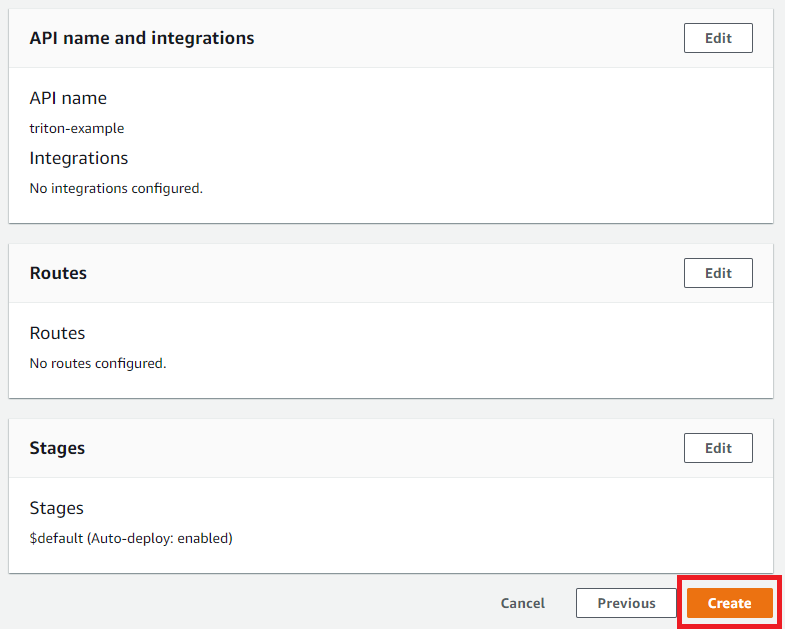
Give the gateway a name and click Review and Create.
Click Create.
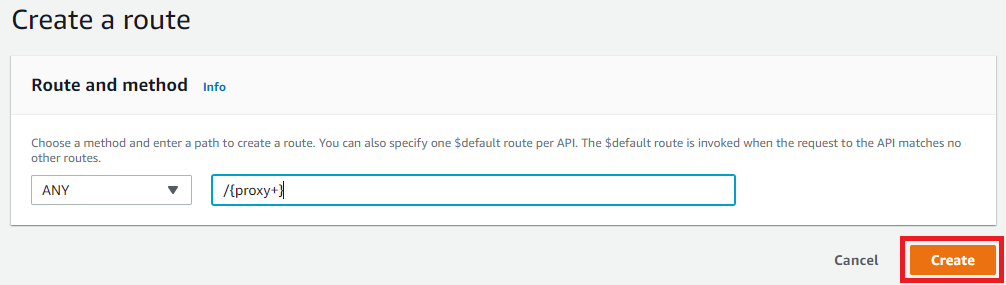
Click Routes from the left menu, then click Create. Enter /{proxy+} to cover all routes, then click Create.
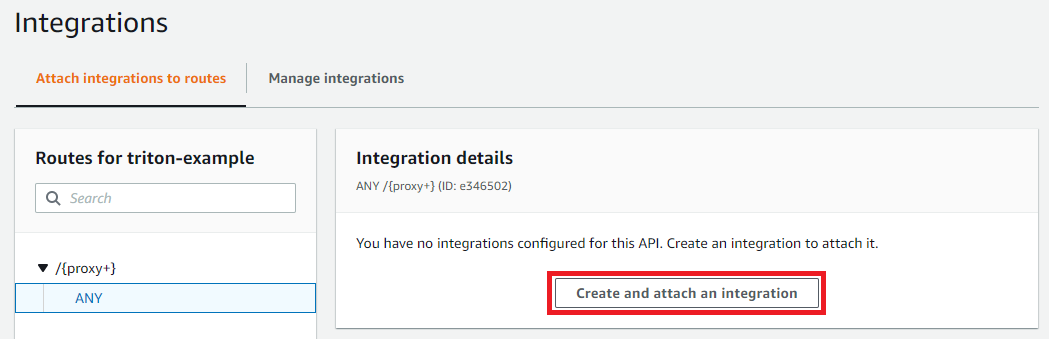
Click Integrations from the left menu. Select the route we just created, then click Create and attach an integration.
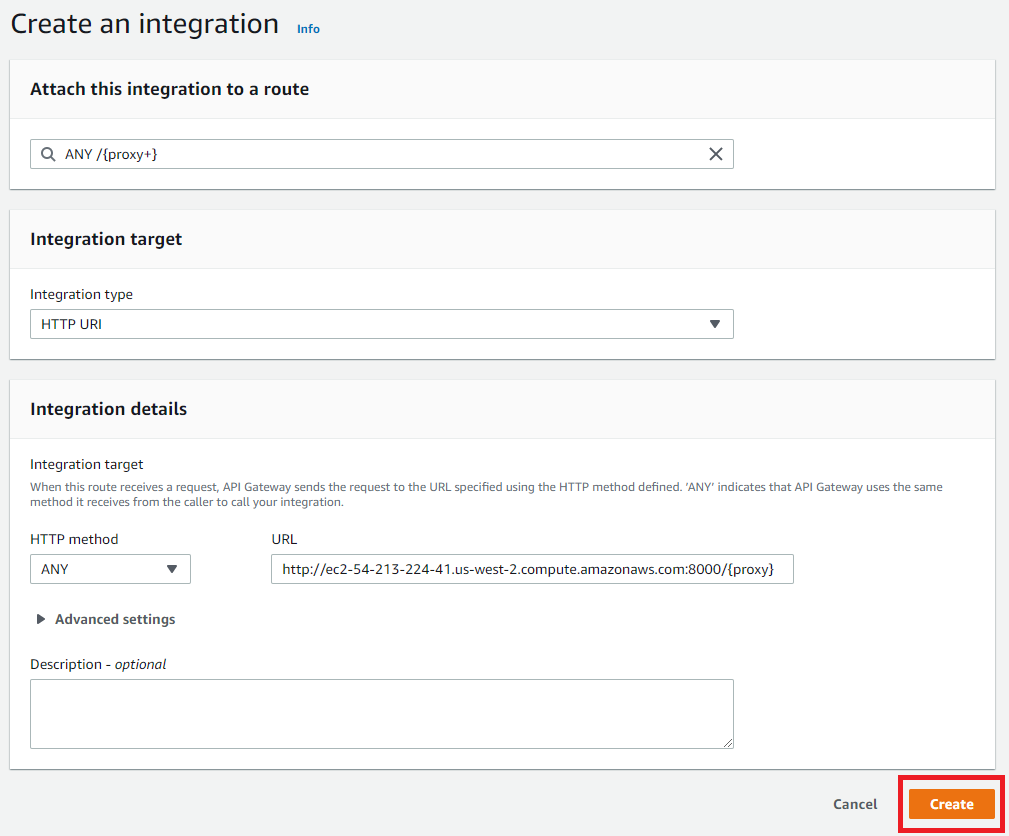
Choose HTTP URI and then enter the public DNS name for your EC2 instance, followed by :8000/{proxy}. This is necessary to correctly serve all routes.
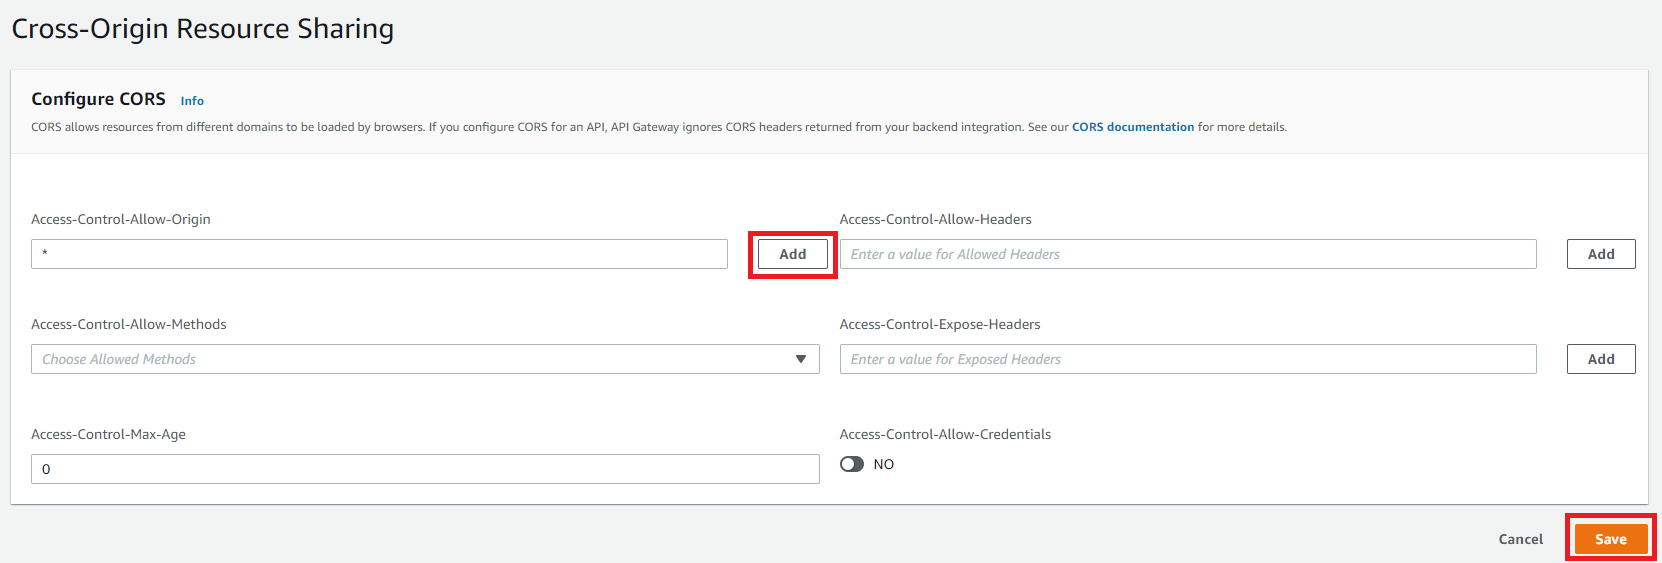
Click CORS from the left menu. Type * into Access-Control-Allow-Origin, click Add, then click Save.
Now test the API server by constructing a request to the inference server with the Invoke URL of your API gateway and a REST URI for Triton Inference Server.

Register annotation applet
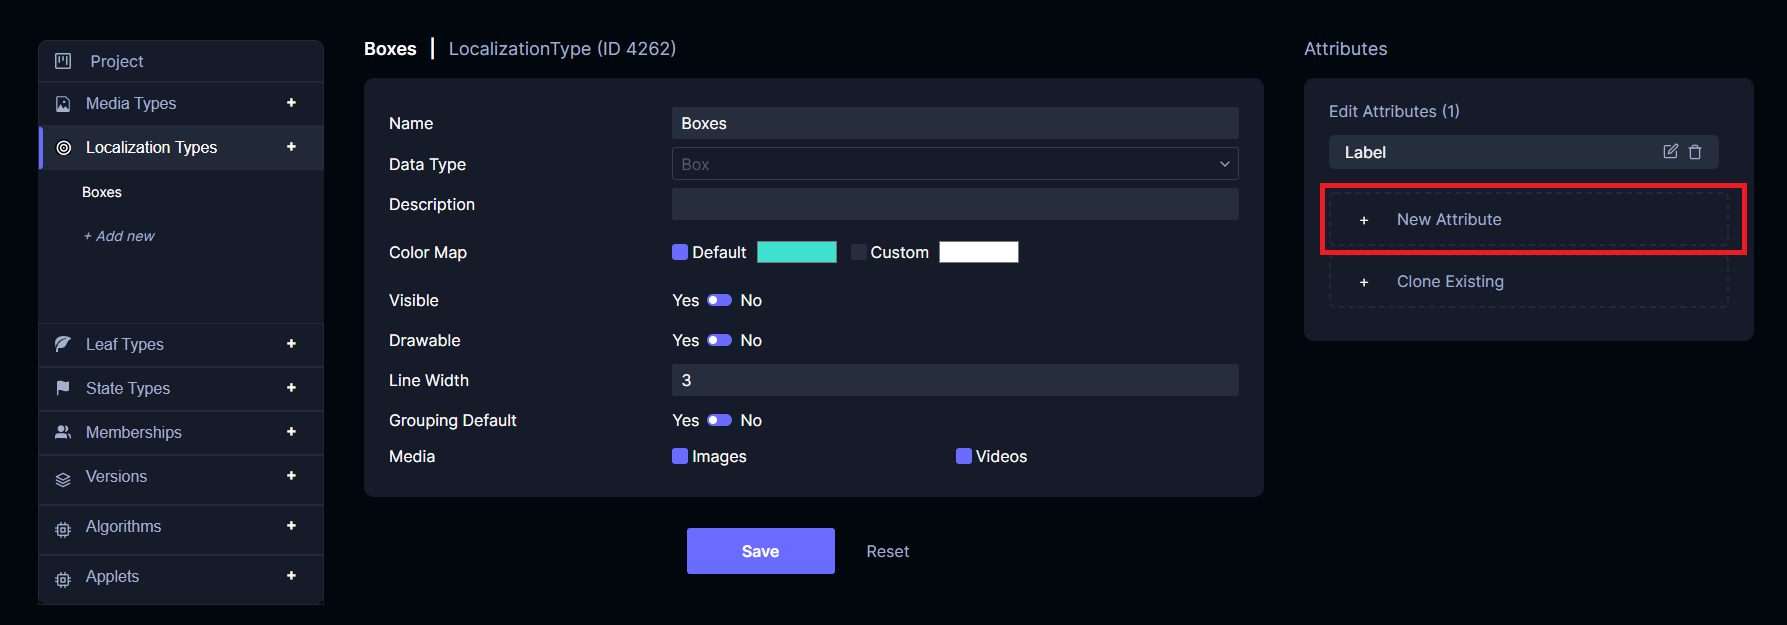
Create a project using the object detection template, then go to project settings. Click Localization Types then click Boxes. Click New Attribute.
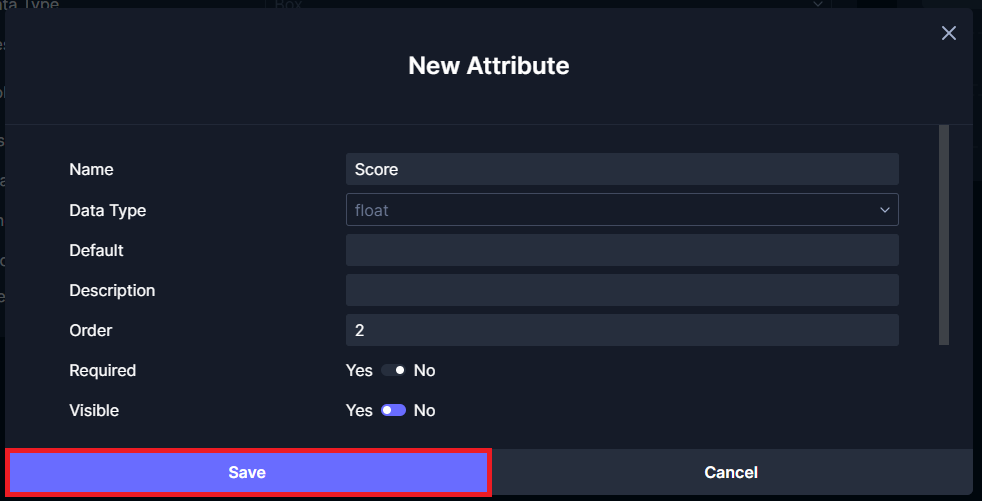
Set the Name to Score, Data Type to float, and Visible to Yes. Click Save.
Download the example applet file and edit it, replacing the domain YOUR_API_DOMAIN with your domain (the one assigned by API Gateway above). Save it somewhere locally so you can upload it.
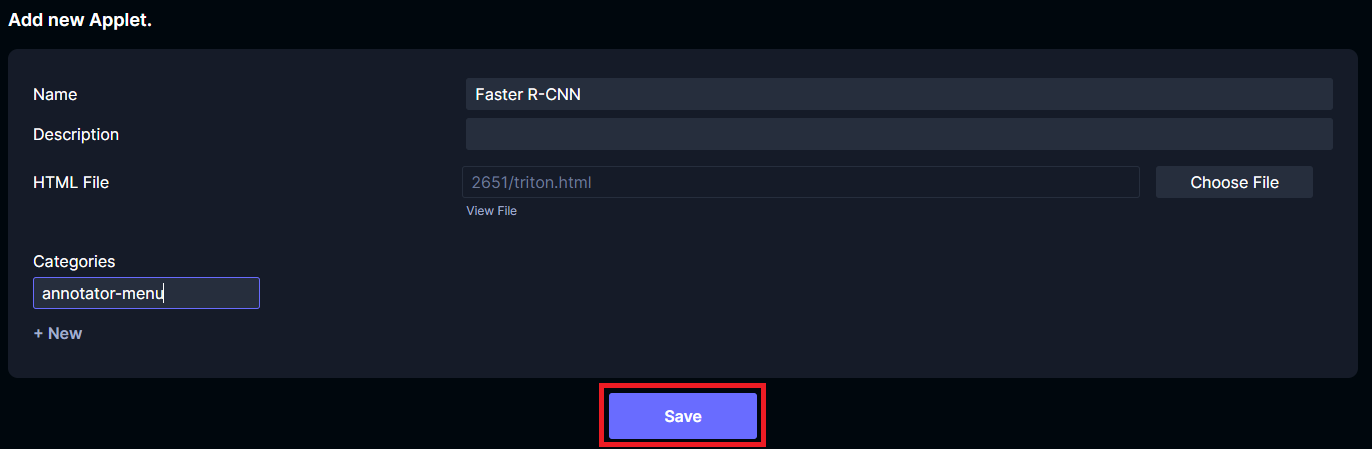
Click Applets then + Add new. Call the applet Faster R-CNN. Add a category called annotator-menu. For the HTML file, upload the modified example file. Click Save.
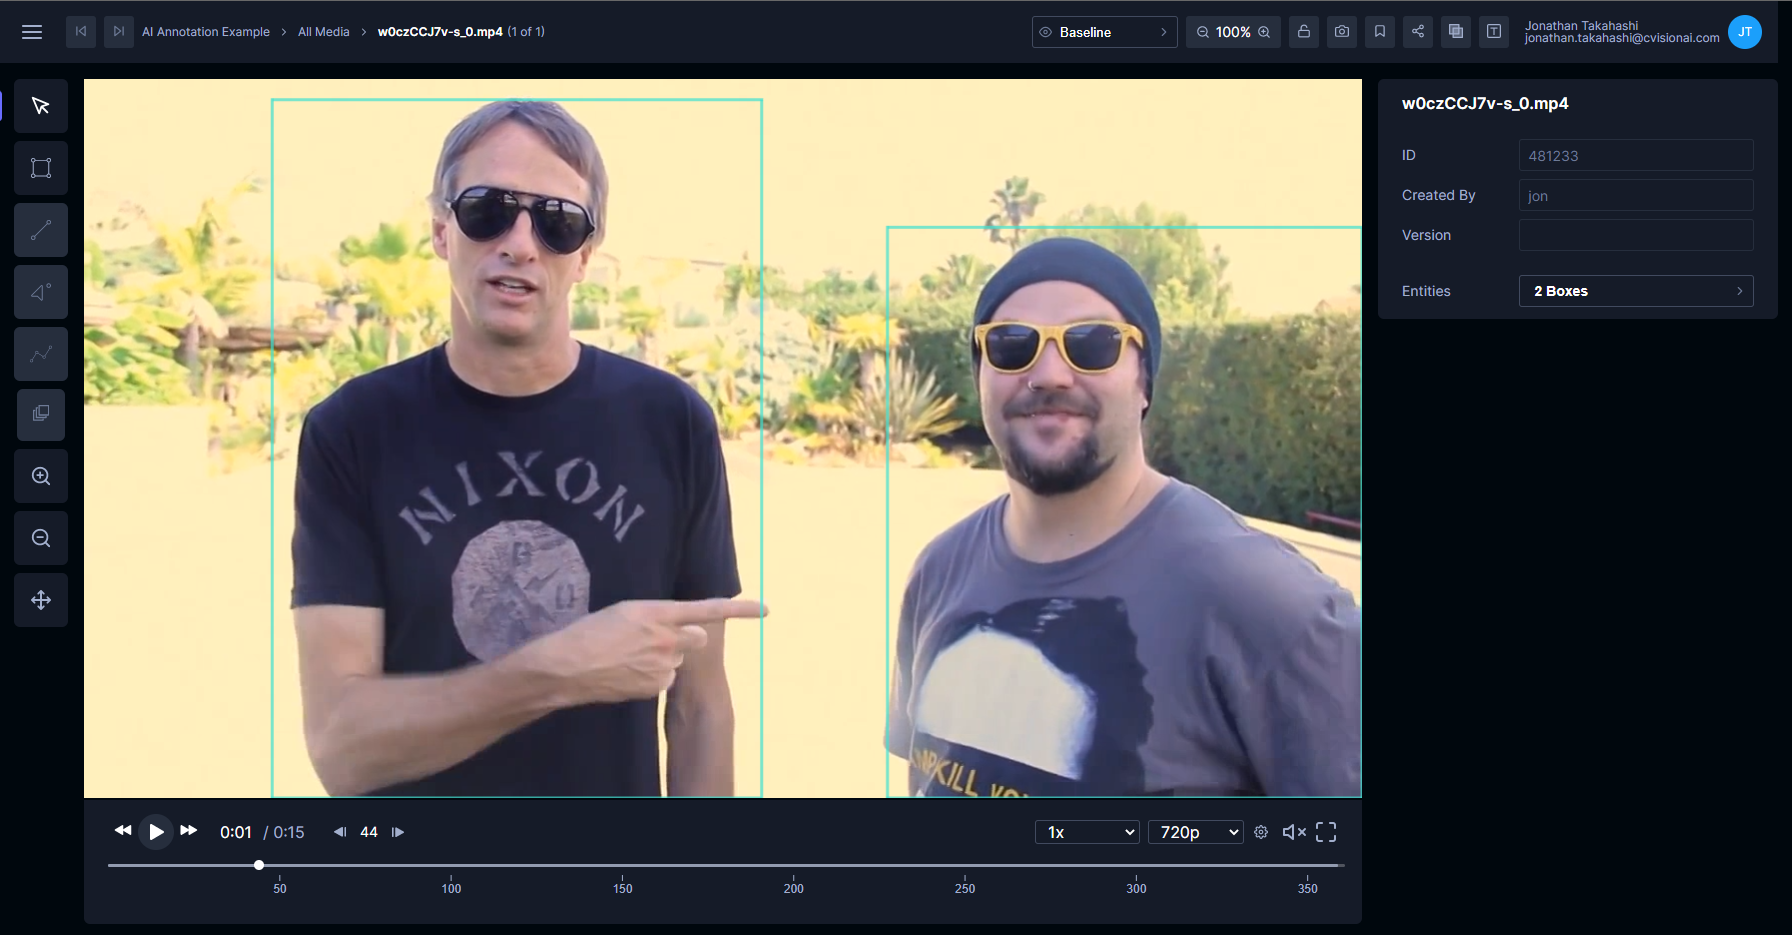
Now upload some media and open it in the annotation view.
On any frame, right click and select Faster R-CNN.
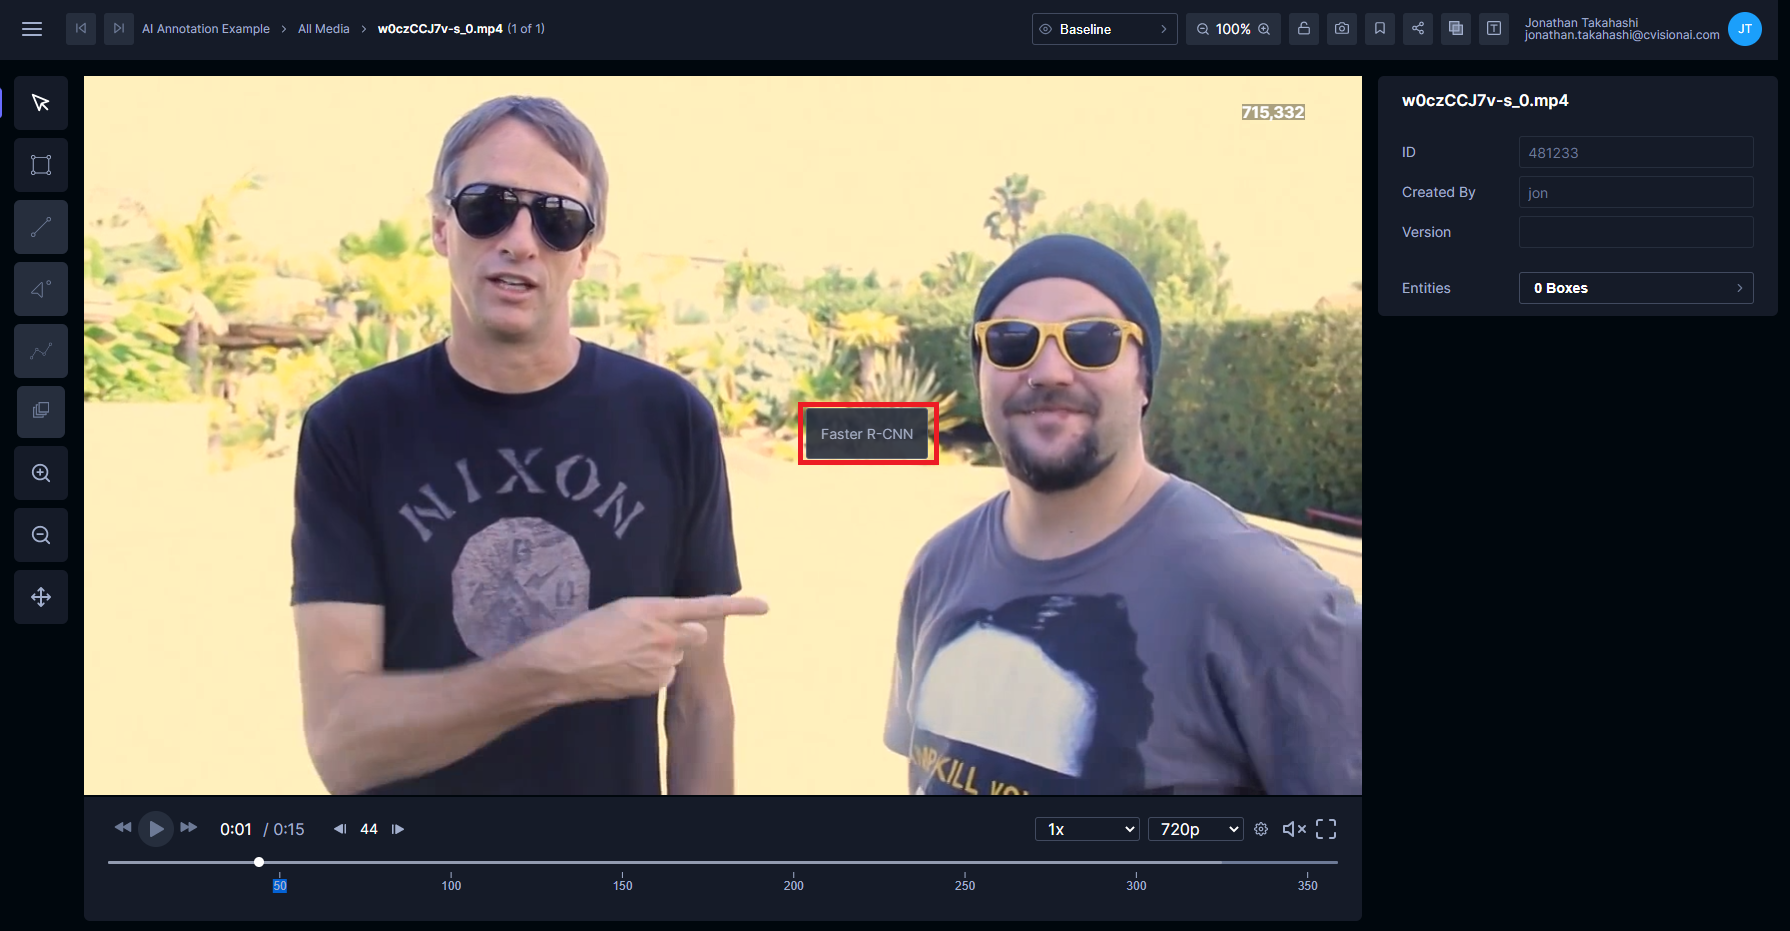
Click Detect. If the algorithm finds any objects, new boxes will be created on the frame. Note that the first inference takes longer than subsequent inferences.